Creating and sharing videos has become an essential part of our lives in today’s digital age. Whether you’re a budding YouTuber, a passionate vlogger, or simply looking to capture precious moments, your Mac has everything you need to record high-quality videos. This article explores three fantastic tools to help unleash your inner videographer: QuickTime Player, Photo Booth, and iMovie. So, grab your Mac, and let’s dive into the world of video recording!
Table of Contents: hide
Record Yourself via QuickTime Player
Record Yourself with Photo Booth
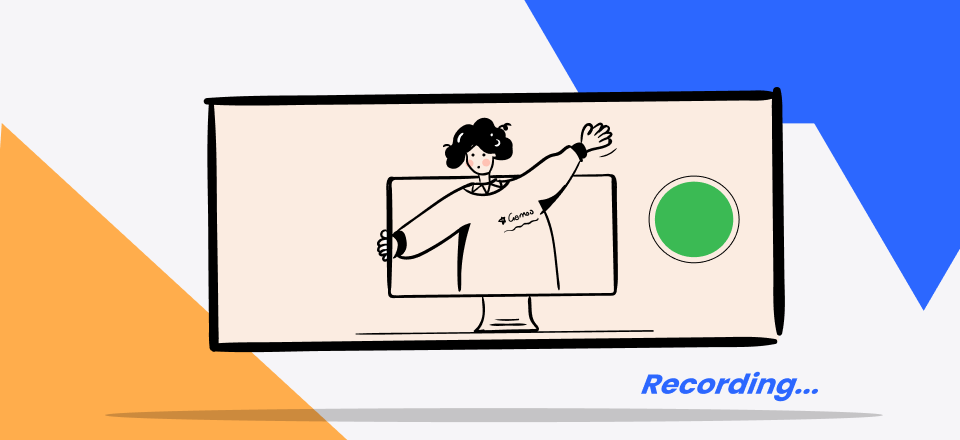
Record Yourself with FocuSee
FocuSee is a powerful yet user-friendly screen recording tool that empowers you to capture videos effortlessly on your Mac. With FocuSee, you can seamlessly record your webcam, capture your entire screen, a specific window, or a selected region, offering the flexibility to tailor your recording to your exact needs.
Key Features of FocuSee
- Easily zoom in or out during the recording process.
- Automatically generate subtitles after recording.
- Apply mouse cursor effects to highlight key points.
- Streamline the recording process with convenient hotkeys.
- Simultaneously record your screen and webcam.
- Add custom watermarks to protect content or promote branding.
Step 1. Download and install FocuSee on your computer for free. Adjust the Device Setup, making sure your webcam is turned on.
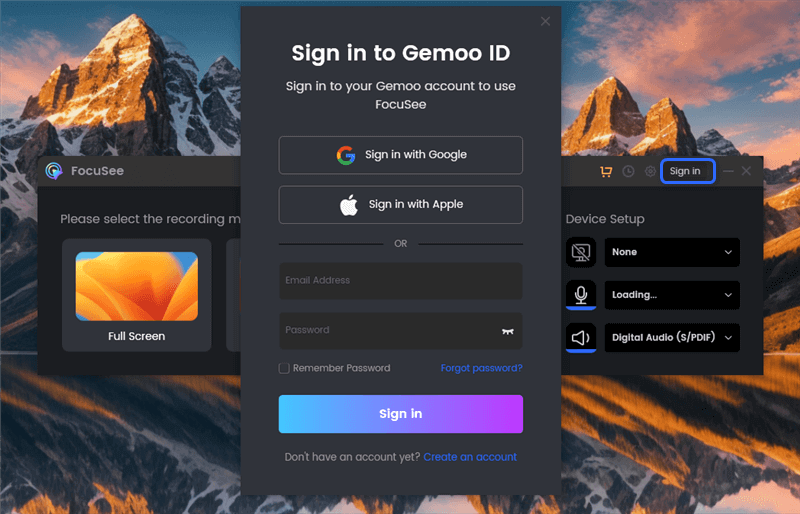
Create an Account and Activate FocuSee
Step 2. Start recording, and the auto-zoom feature will come into play during the screen recording process.
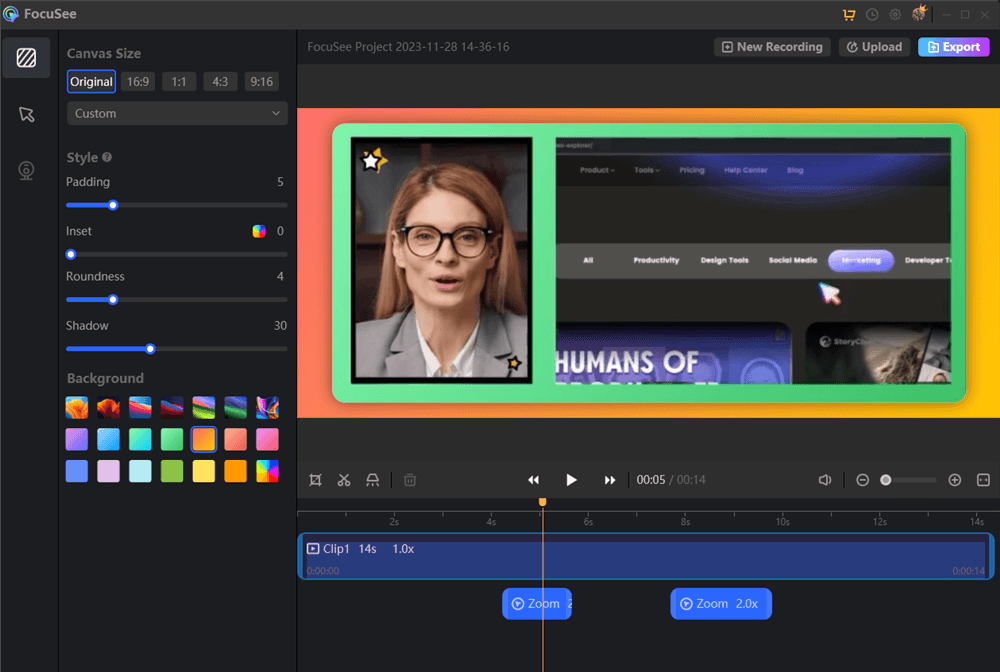
Adjust the Zoom Effect
Step 3. To stop recording, click the red “Stop” icon or press the hotkey. After recording, you can trim, crop, or perform other editing operations on the recorded clip.
Record Yourself via QuickTime Player
QuickTime Player is a built-in app that comes with every Mac. It offers a straightforward and easy-to-use solution for video recording. With its intuitive interface and basic features, QuickTime Player is perfect for those who want to record quick, straightforward videos without fuss.
Here’s how to record a video using QuickTime Player:
Step 1: Open QuickTime Player from your Applications folder.
Open QuickTime Player
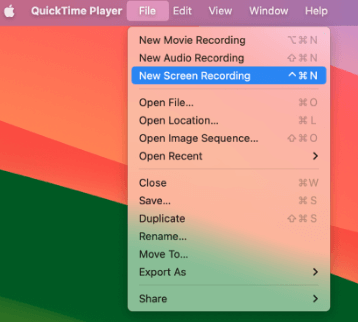
Step 2: Click “File” in the menu bar and select “New Movie Recording.”
Step 3: Click the small arrow next to the record button to configure your camera and microphone settings. You can also select your desired video quality.
Step 4: Click the red record button to start recording your video.
Step 5: When done, click the stop button to end the recording.
Step 6: Save your video by clicking “File” and then “Save.”
Record Yourself with Photo Booth
A photo booth is the perfect tool to add fun and creativity to your videos. This entertaining app comes pre-installed on your Mac and allows you to record videos with hilarious visual effects and filters.
Follow these steps to record a video using Photo Booth:
Step 1: Launch Photo Booth from your Applications folder.
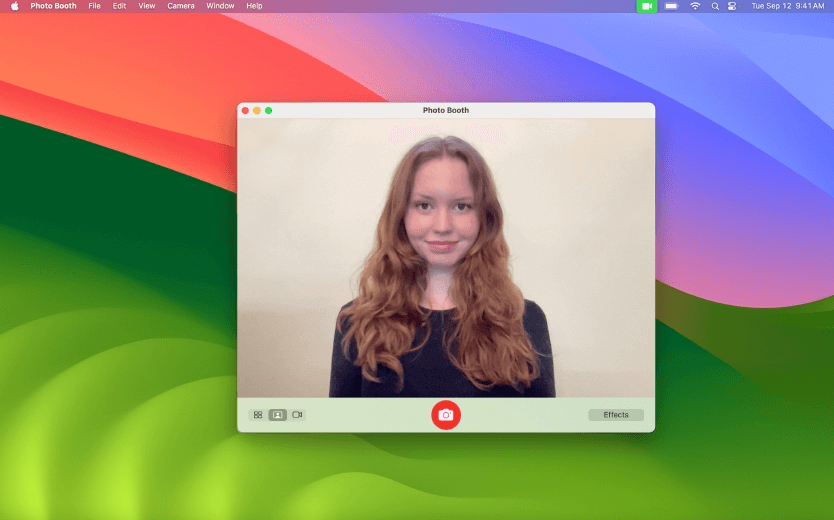
Launch Photo Booth
Step 2: Click the “Camera” icon in the bottom left corner to switch to video mode.
Step 3: Choose a visual effect from the list of options at the bottom of the screen.
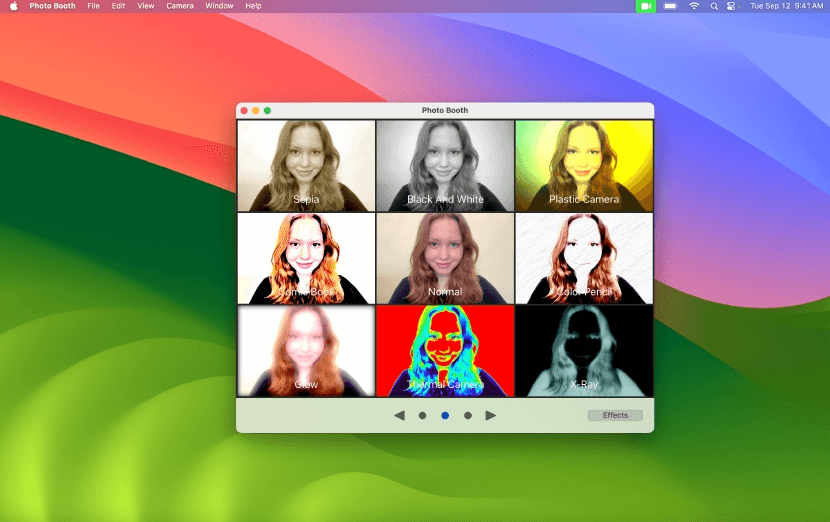
Choose a Visual Effect
Step 4: When ready, click the red camera button to start recording.
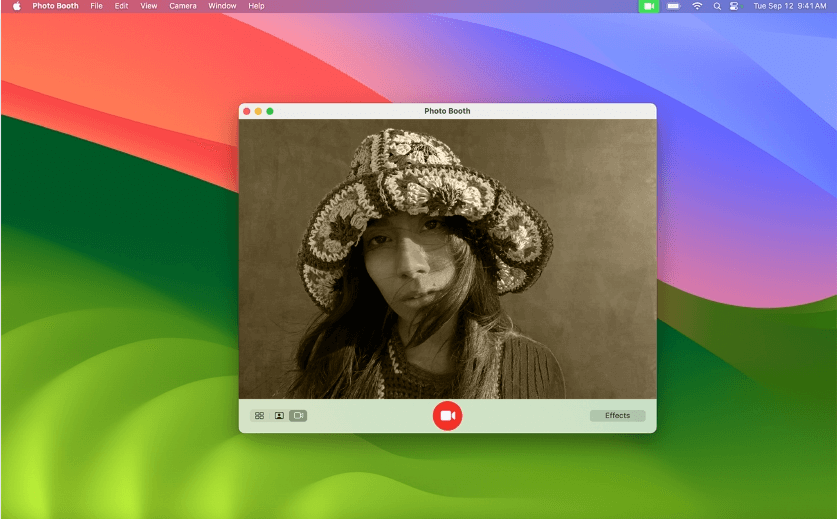
Start Recording
Step 5: Click on the stop button when you’re finished recording.
Step 6: To save your video, click “File” and “Export.”
Record Yourself on Mac with iMovie
iMovie is a powerful video editing software that comes free with every Mac. It allows you to record videos directly within the app and provides a wide range of editing tools to help you create professional-looking videos.
Here’s how to record and edit a video using iMovie:
Step 1: Open iMovie from your Applications folder.
Open iMovie
Step 2: Click “File” in the menu bar and select “New Movie.”
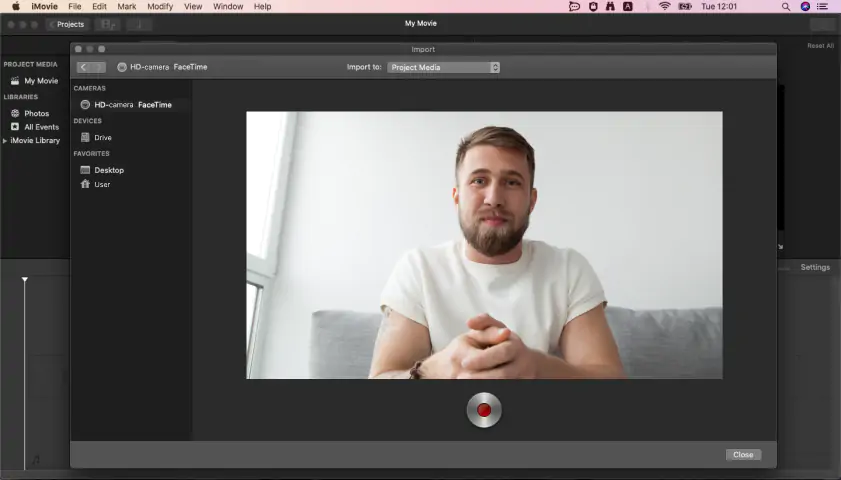
Step 3: To record a video, click the “Import Media” button and choose “FaceTime HD Camera.”
Step 4: Click on the red record button to start recording, and press it again to stop.
Step 5: Your recorded clip will appear in the iMovie library and be ready for editing.
Step 6: Drag and drop your clip onto the timeline to begin editing.
Step 7: Use iMovie’s various editing tools to trim, split, and enhance your video.
Step 8: When satisfied with your edited video, click “File” and then “Share” to export your masterpiece.
Tips for Better Recording
Now that you know how to record videos on your Mac, let’s explore some tips to help you achieve the best possible results:
- Find a quiet location with minimal background noise to ensure clear and distraction-free audio.
- Position your camera at eye level to create a natural and engaging viewing experience for your audience.
- Choose a background that complements your video’s content and ensure you’re centered in the frame.
- Pay attention to lighting. Place your light source in front of you to achieve even illumination and avoid unflattering shadows.
Frequently Asked Questions
1. Can I record my screen using QuickTime Player?
Yes! QuickTime Player also allows you to record your Mac’s screen. Go to “File” and select “New Screen Recording” to capture your screen.
2. How can I add music to my video in iMovie?
To add music to your video in iMovie, click the “Audio” button in the top menu bar and choose “Music.” From there, you can browse and select a song from your iTunes library or iMovie’s built-in sound effects.
3. Are there any third-party video recording apps for Macs?
Absolutely! Numerous third-party video recording apps, such as ScreenFlow, Camtasia, and OBS Studio, are available for Mac. These apps offer advanced features and customization options for those who require more control over their recordings.
Conclusion
This article provides a comprehensive guide on recording yourself on a Mac using various tools and software. From the simple QuickTime Player to the fun and creative Photo Booth and the powerful iMovie, you now know how to create stunning videos that capture your unique style and personality. By following the step-by-step instructions and considering our tips for better recording, you’ll be well on your way to becoming a Mac video recording pro!