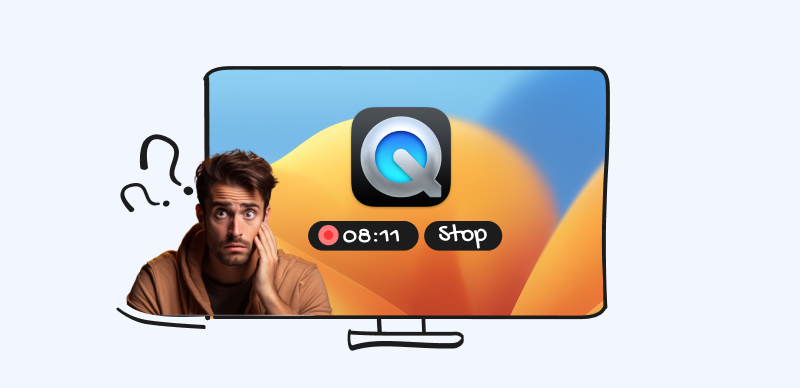
VLC media player: It’s the go-to for many when it comes to playing almost any video format, but did you know this versatile software can also record your screen? And not just with basic functionality – VLC lets you capture your desktop, and applications, and even customize recording settings, all without those pesky watermarks that some other screen recording tools slap on.
This guide will walk you through the simple steps of using VLC for screen recording, making it your new favorite (and free!) method for capturing tutorials, gameplay, video calls, and more.
Why Choose VLC for Screen Recording?
Beyond its ability to play practically any video you throw at it, here’s why VLC Media Player shines as a screen recorder:
- Free and Open-Source: VLC media player is entirely free to download and use. No hidden fees, trial periods, or limitations – just pure screen recording power at your fingertips.
- Cross-Platform Compatibility: Whether you’re on Windows, macOS, or Linux, VLC has you covered. Download the appropriate version for your operating system and enjoy seamless screen recording.
- No Watermarks: Say goodbye to distracting watermarks obscuring your recordings. VLC keeps your captured content clean and professional-looking.
- Simple Interface: VLC’s interface, while powerful, remains user-friendly. You don’t need to be a tech wizard to navigate its settings and start recording.
Screen Recording Software – VLC
Step-by-Step Guide to Screen Recording with VLC
Ready to start recording? Follow these simple steps:
Step 1. Download and Install VLC
Begin by visiting the official VLC website at videolan.org to download the appropriate version for your operating system. Once downloaded, run the file and follow the simple installation instructions to get VLC set up on your computer.
Step 2. Access Capture Device Settings
With VLC media player open, navigate to the “Media” option in the top menu bar and select “Open Capture Device…” from the dropdown menu.
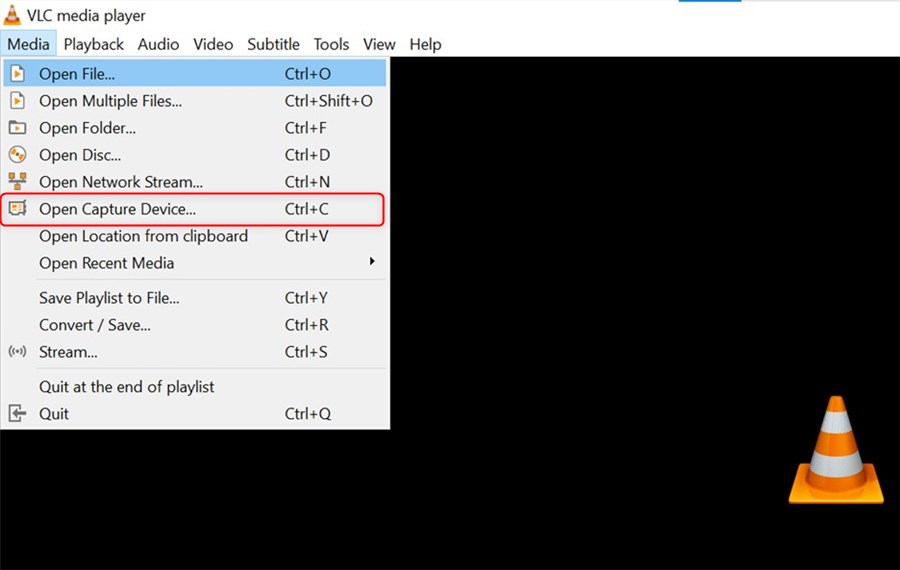
Click on Open Capture Device
Step 3. Configure Recording Settings
- Capture Mode: In the “Capture Device” window > Choose “Desktop” under the “Capture mode” section.
- Frame Rate: Decide on a frame rate; 30 fps offers smooth playback but larger files, while 15-25 fps is often enough for basic needs.
- Audio Source: Select your audio input source > You can choose “Microphone” for voice recording > “System audio” for sounds from your computer, or “Both” to capture everything.
- Output Destination: Use the “Browse” button to select where you want to save your recording, name your file, and choose a format such as .mp4 or .avi.

Configure Recording Settings
Step 4. Start, Pause, and Stop Recording
To start recording, click the “Play” button at the bottom of the window. > If you need to pause the recording, simply click the “Pause” button.
When you’re ready to finish, hit the “Stop” button to conclude the recording session.
Step 5. Access Your Recording
Head over to the location you specified in step 3, find your recording file, and double-click it to play back what you’ve captured.
Screen Recording with VLC Alternative – FocuSee
FocuSee, the highly recommended VLC alternative, is perfectly tailored to meet your needs for screen recording. It offers flexibility to capture your entire screen, a selected area, or a single window. Its features like auto-zoom and mouse highlighting make recording straightforward and efficient. Here are the key features of FocuSee:
- FocuSee automatically follows the cursor movement and applies dynamic zoom-in effects to enhance the video.
- Apply motion blur effects to mouse movements, screen zooms, and screen transitions to enhance the visual experience.
- It provides real-time transcription of spoken words during the recording process.
- Ideal for tutorials, demos, and promotional videos, FocuSee also simplifies the capture of selfies and voiceovers, meeting a variety of recording needs.
Step 1. Free download and launch FocuSee on the computer and enter your account and password to log in to FocuSee.
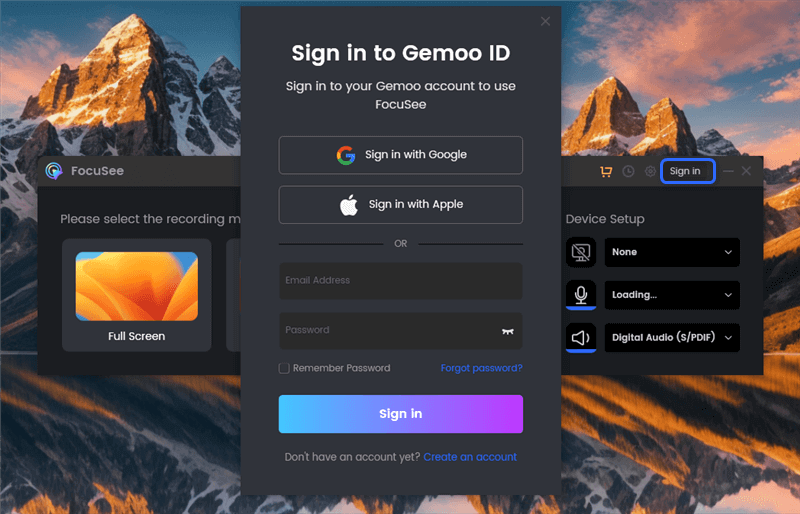
Create an Account and Activate FocuSee
Step 2. FocuSee supports 3 recording modes: record the full screen, custom the recording area, or record the window. You can choose the one you want to record.
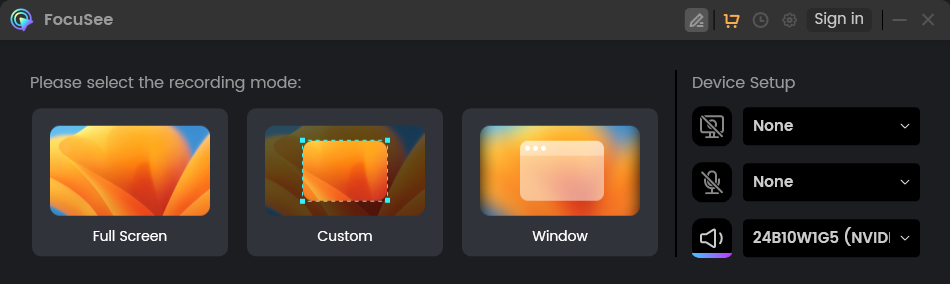
Three Recording Modes for FocuSee
Step 3. After choosing the recording mode, please just focus on your screen recordings. Let FocuSee handle the post-production automatically. You can get a visually appealing video as soon as you finish recording. After recording, you can change the background, adjust the cursor style, add captions and more.
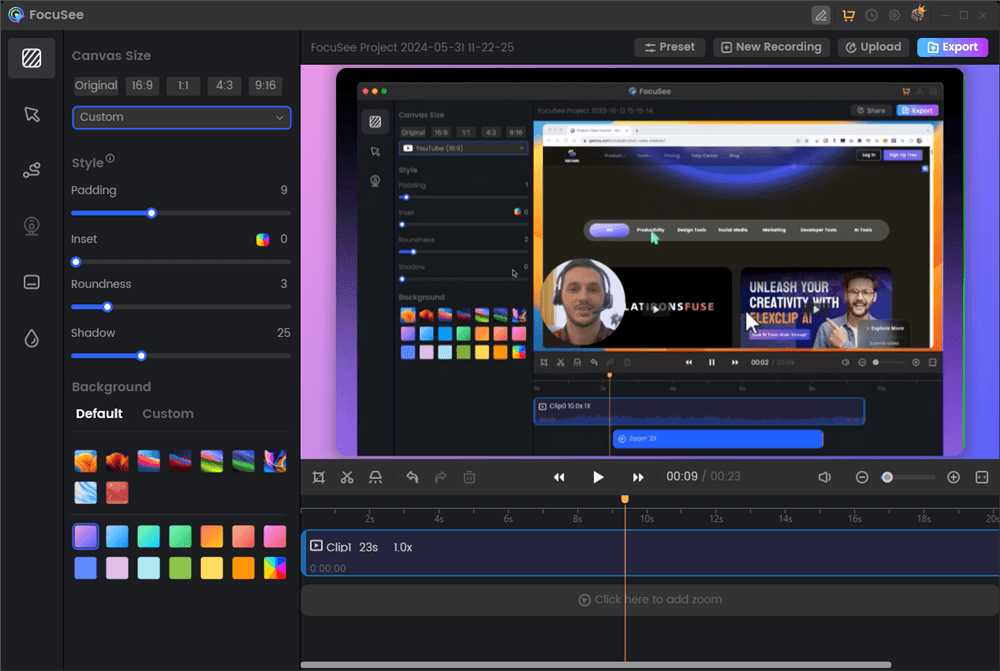
Screen Recording Editing Interface
Step 4. Then, export your recordings as an MP4 or GIF file or share it with a link easily.
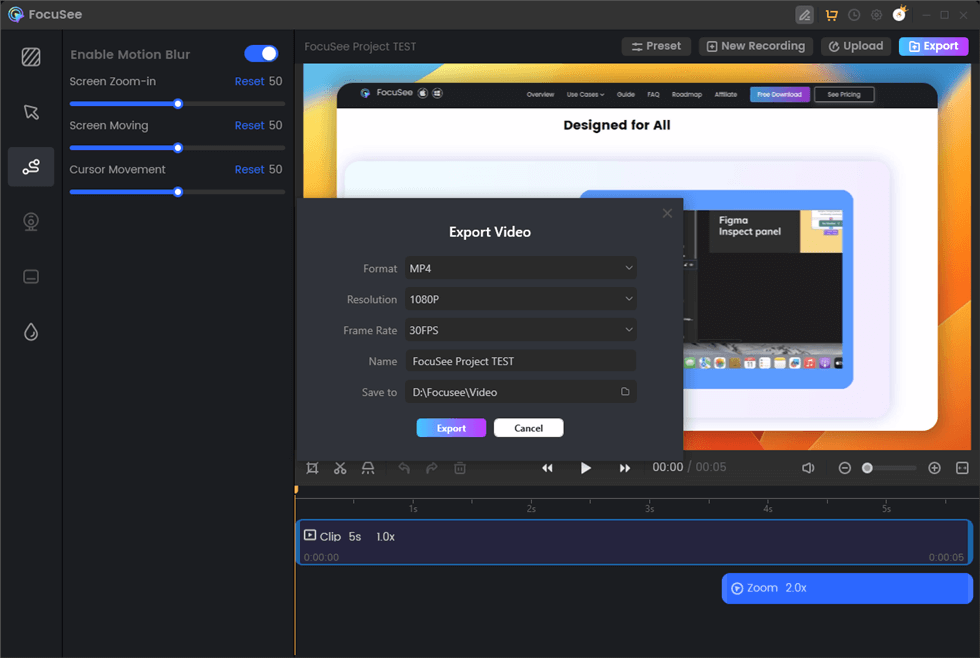
Export the Video
Advanced Tips for VLC Screen Recording
Recording a Specific Area:
- In the “Capture Device” window, check the box for “Show more options.”
- Under “Cropping options,” adjust the “Top,” “Left,” “Width,” and “Height” values to define the recording area.
Adjusting Recording Quality:
For higher-quality recordings, increase the frame rate and bitrate in the “Convert” window’s settings.
Experiment with different audio codecs for optimal sound quality.
Using Hotkeys:
Start/Stop Recording: Shift + Ctrl + R (Windows) or Shift + Cmd + R (macOS)
Pause/Resume Recording: Shift + Ctrl + P (Windows) or Shift + Cmd + P (macOS)
Conclusion
VLC is more than just a media player – it’s a powerful, free, and user-friendly screen recording tool available at your disposal. With its simple setup, customizable settings, and cross-platform compatibility, VLC makes capturing your screen a breeze. So next time you need to record a presentation, gameplay, or online tutorial, fire up VLC and experience its screen recording prowess firsthand. Don’t forget to explore its many other features – VLC is a treasure trove of multimedia capabilities!
FAQs on VLC Screen Recorder
Q: Can I record my screen with VLC while playing a video game in full-screen mode?
A: It depends on the game and your computer’s resources. Some games might cause conflicts with VLC’s screen capture. If you experience issues, try adjusting the game’s graphics settings or using a dedicated game capture software.
Q: Can I edit my screen recordings directly in VLC?
A: While VLC has some basic video editing features, it’s not a full-fledged video editor. For more advanced editing, consider using dedicated video editing software.
Q: Is it legal to record my screen using VLC?
A: Screen recording laws vary by region. Generally, recording your screen for personal use or educational purposes is usually acceptable. However, be mindful of copyright laws and avoid recording copyrighted content without permission.