Unleashing Creativity: How to Seamlessly Combine Photos to Make a Video

In today’s digital era, the impact of visual content is undeniable. Visuals have become a cornerstone of communication, captivating audiences across platforms and transforming stories. The fusion of photos and videos offers a powerful storytelling medium, allowing narratives to unfold beautifully. With the convenience and effectiveness of online tools, combining images and videos has never been more accessible. This article delves into three leading online platforms—FlexClip, Clippa, and Movie Maker Online—empowering users to unleash creativity and craft compelling visual narratives effortlessly.

How to Seamlessly Combine Photos to Make a Video
Table of Contents: hide
4 Ways to Make a Video from Photos
Clippa – Creating Eye-Catching Videos
Clideo – Streamlining Visual Creations
CapCut – Crafting Visual Narratives
Frequently Asked Questions about Combining Photos to Make a Video
4 Ways to Make a Video from Photos
Creating a captivating video from a collection of photos is an exciting endeavor that allows us to bring our visual stories to life. This article will explore four distinct and effective methods to accomplish this task. Each approach offers unique techniques and strategies to transform static images into a dynamic and engaging video presentation. Whether through thoughtful sequencing, seamless transitions, the power of music and sound effects, or the inclusion of text and overlays, these four ways provide a comprehensive toolkit for turning photos into a mesmerizing video experience. By delving into these methods, we can unlock the full potential of our photo collection, enabling us to craft compelling narratives that leave a lasting impact on our viewers.
Clippa – Creating Eye-Catching Videos
Clippa is a versatile and user-friendly video editor that empowers creators to bring their vision to life. With Clippa, editing videos becomes a seamless and enjoyable experience. It offers many features and tools, including trimming, cropping, adding text, overlays, transitions, and audio editing capabilities.
Whether you’re a professional filmmaker or a casual content creator, Clippa provides an intuitive interface and a robust set of editing options to enhance your videos and captivate your audience. With its simplicity and functionality, Clippa opens up endless possibilities for creating stunning videos that leave a lasting impression.
Key Features of Clippa
- Clippa provides essential editing tools like trimming, cropping, rotating, and resizing videos. These tools allow you to refine your footage and focus on the most impactful moments.
- With Clippa, you can add text overlays, captions, and titles to your videos. It offers a variety of fonts, styles, and customization options, enabling you to create visually appealing and informative text elements.
- Enhance the visual aesthetics of your videos with Clippa’s collection of filters and effects. You can apply these effects from subtle adjustments to artistic transformations to achieve the desired mood and atmosphere.
- Seamlessly transition between scenes or shots with a range of transition effects provided by Clippa. These smooth transitions add a professional touch to your videos and create a cohesive viewing experience.
- Clippa enables you to adjust the audio levels, add background music, or even remove unwanted noise from your videos. You can also synchronize audio and video elements for precise timing.
How to combine photos to make a video:
Step 1: Open Clippa and import the photos you want to include in your video. Drag and drop the images into the editor.
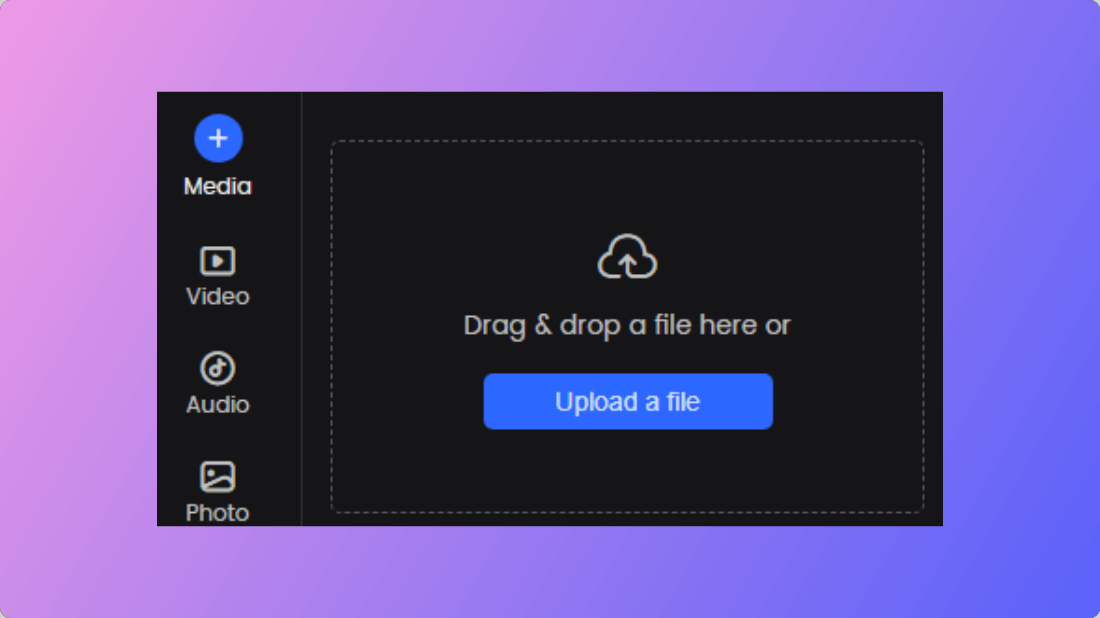
How to Upload a File
Step 2: Arrange the photos in the desired order by dragging them on the timeline. It establishes the flow and storytelling of your video.
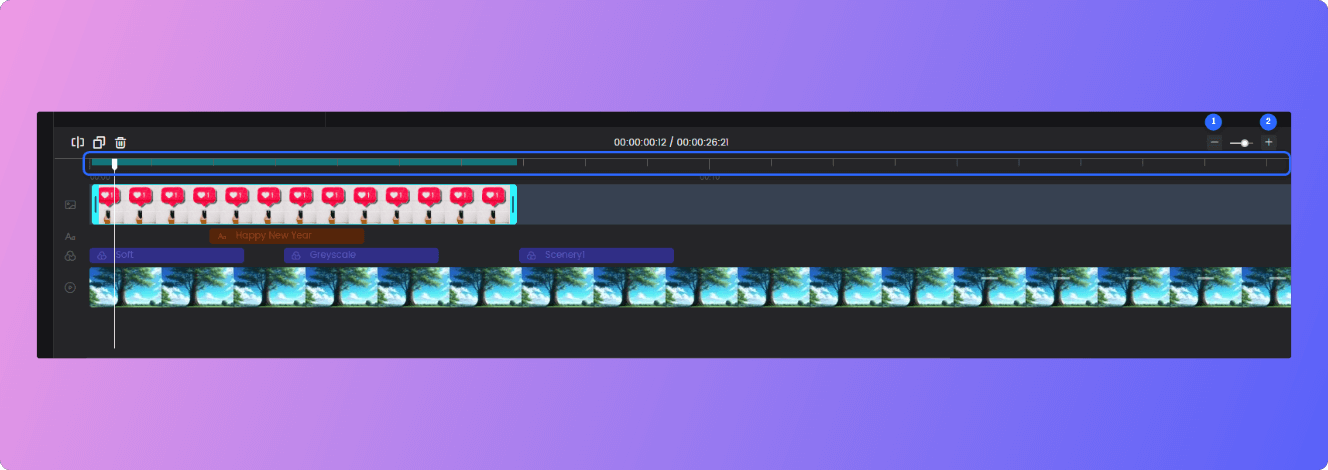
Clippa Timeline Editing
Step 3: Set the duration for each photo by dragging the edges of the image on the timeline. It determines how long each photo will be displayed in the video.
Step 4: To create smooth transitions between photos, click the “Transitions” tab and choose a transition effect. Apply it between each image to make a seamless visual transition.
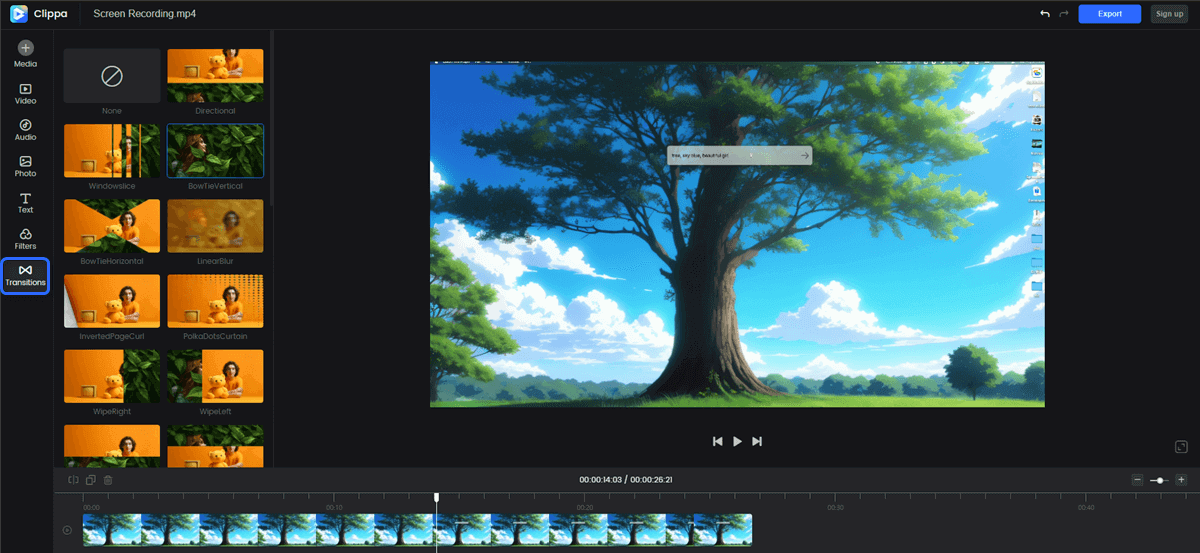
Supported Transition Effects
Step 5: Enhance the visual appeal of your photos by adjusting brightness, contrast, or applying filters. Click on the “Filters” tab and experiment with the options to achieve your desired look.
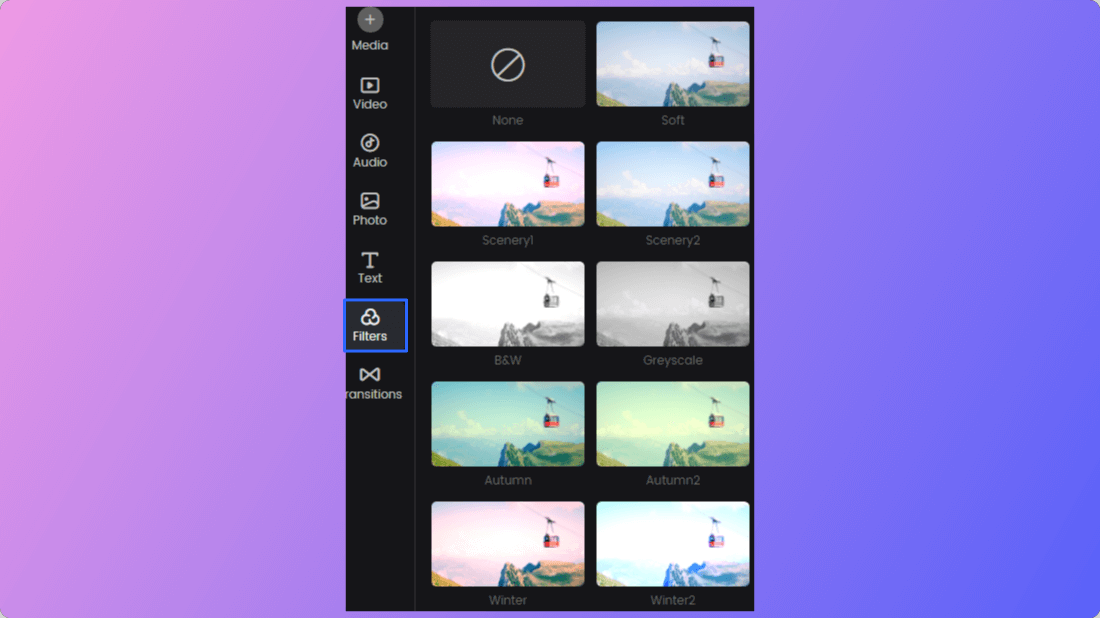
Type of Filters
Step 6: Click on the “Audio” tab and upload your preferred background music or choose from Clippa’s library. Adjust the volume and ensure it complements the mood of your video.
Step 7: Preview your video to ensure the sequence, duration, transitions, and visuals are as desired. Make any necessary adjustments by returning to the respective tabs and modifying settings.
Step 8: Once satisfied with your video, click the “Export” button and choose the MP4 format. Or you can click “Copy Link” to share the video with others via a link.
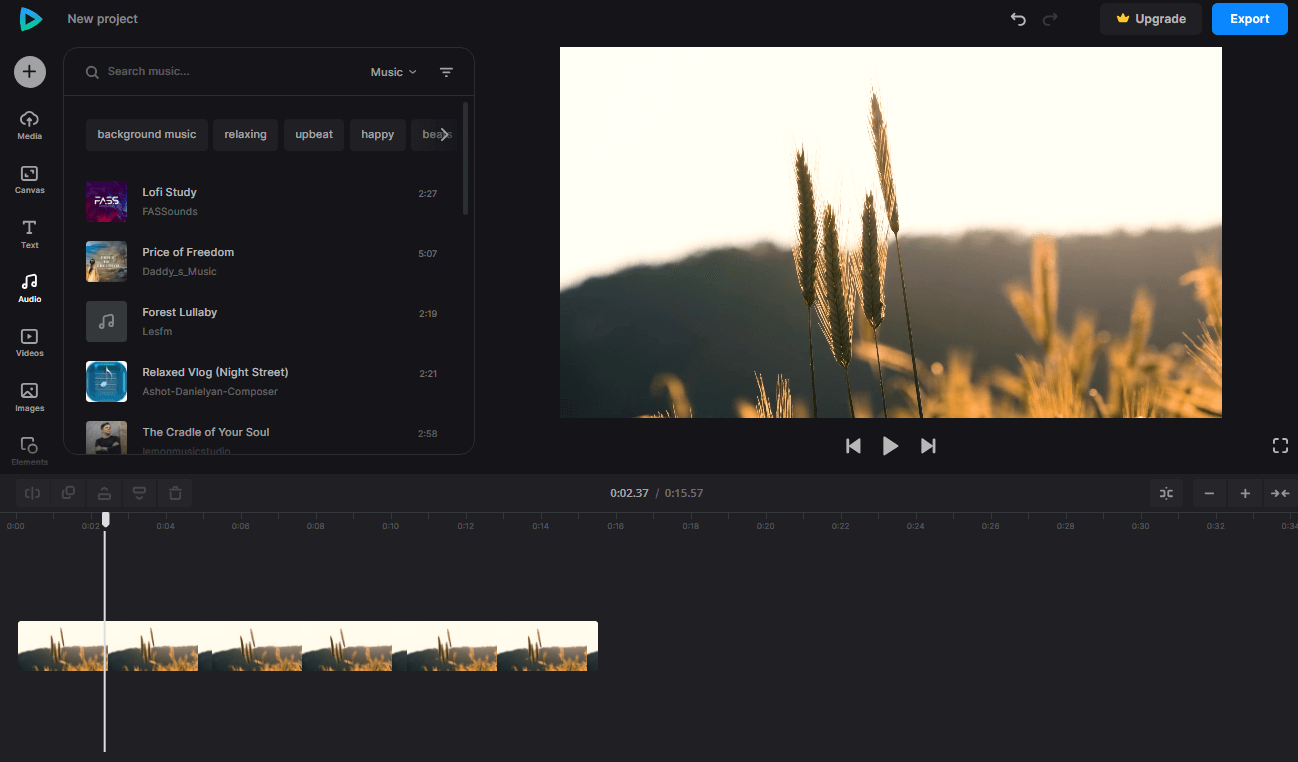
FlexClip – Your Creative Hub
FlexClip emerges as a versatile and user-friendly online tool, serving as a creative hub for merging photos and videos seamlessly. Its intuitive interface offers features, including combining images and video clips, customizing elements, accessing a library of pre-designed templates, and simplifying the process of creating professional-looking videos from photos and videos. FlexClip empowers users to bring their visions to life quickly. Testimonials and user success stories underscore its efficiency and effectiveness in visual storytelling.
FlexClipa Interface
Key Features of Flexclip
- It offers an intuitive interface suitable for both beginners and advanced users, simplifying the process of creating videos from images.
- Provides tools to customize images, such as cropping, resizing, and adjusting durations for each image to control the video’s pace.
- Users can apply various transitions and effects between images, such as fade-ins, fade-outs, transitions, filters, and motion effects, to enhance the video’s visual appeal.
- Allows users to add text overlays, captions, and titles to images within the video. Additionally, it enables users to include background music or voiceovers to complement the visuals.
Steps to Make a Video from Photos via Flexclip
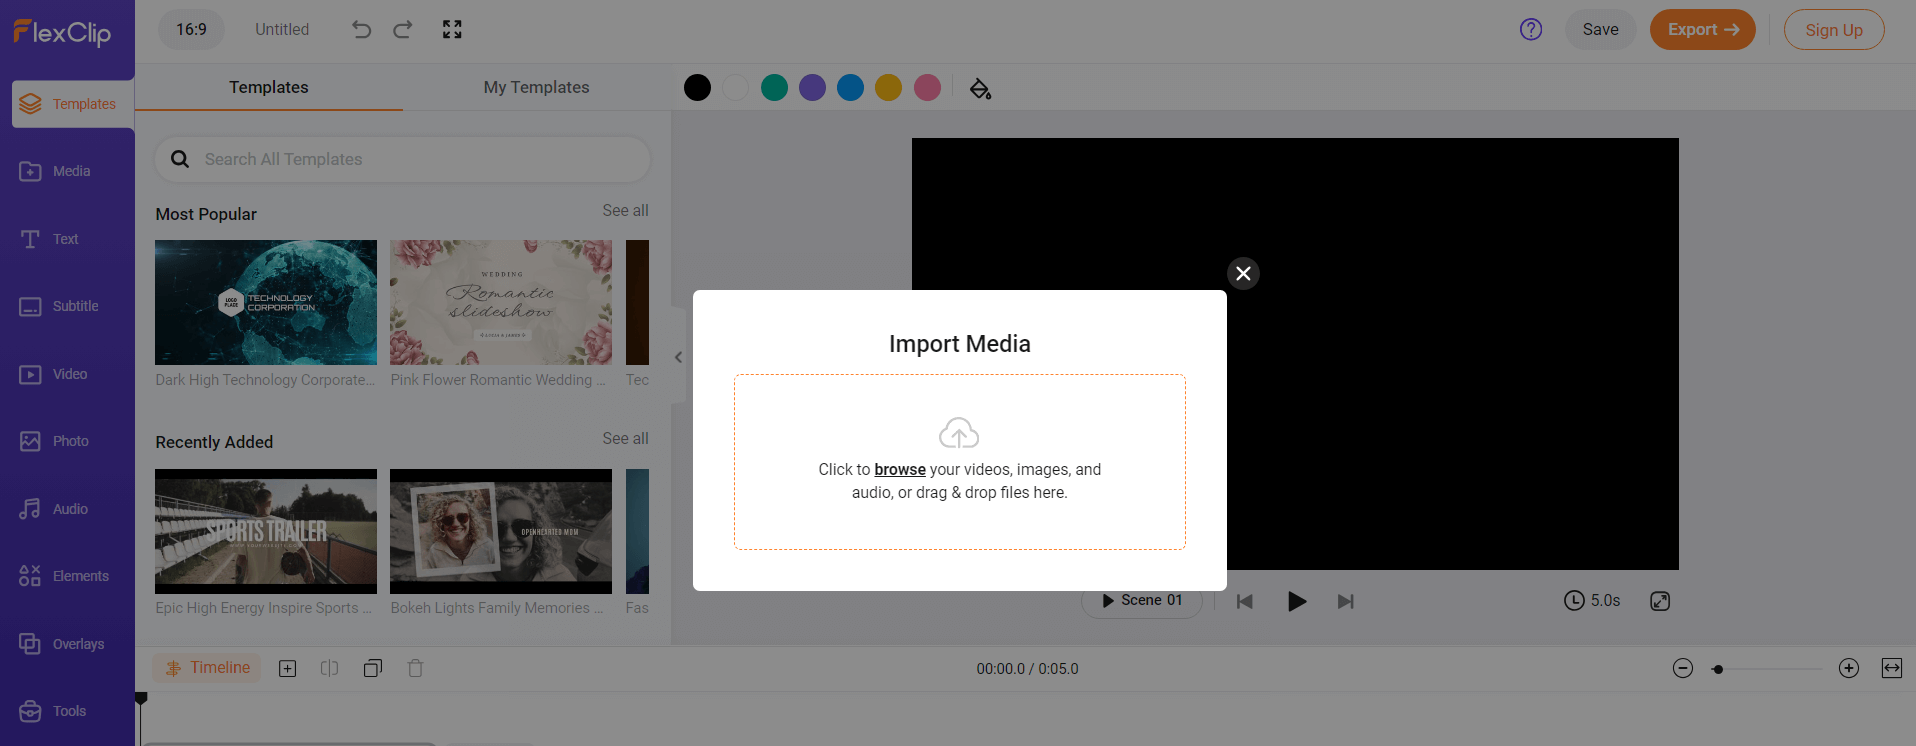
Step 1: Access FlexClip’s website and sign up for an account. If you have already registered, log in to the platform.
Step 2: Import the images you wish to use in your video by uploading them from your computer or selecting FlexClip’s media library.
Step 3: Drag and drop the uploaded images onto the timeline in the desired sequence to create the video flow.
Step 4: Add transitions between images by selecting the transition option and choosing from available effects to smoothen the image transitions.
Step 5: Insert text overlays or titles on specific images as needed. Further, include background music or voiceovers to complement the visual story.
Step 6: Export the video in your preferred resolution and format once satisfied. FlexClip offers various options for sharing or downloading the final video.
Clideo – Streamlining Visual Creations
Enter Clideo, an online platform dedicated to streamlining visual content creation by seamlessly merging photos and videos. Clideo’s user-friendly interface facilitates combining images, videos, and GIFs, providing tools to adjust aspect ratios and apply diverse transitions. Users can transform visual elements into engaging videos with simple steps. User reviews and case studies showcase Clideo’s effectiveness in crafting impactful visual narratives, making it a go-to platform for creative endeavors.
Clideo Interface
Key Features of Clideo
- Allows users to seamlessly merge multiple video clips and images, creating a cohesive visual story. It simplifies combining different media elements into a single video project.
- Offers options to adjust the aspect ratio of videos and images, ensuring compatibility with various screen sizes and optimizing the video for different platforms or devices.
- Apply diverse transition effects between scenes or images, enhancing the visual flow and creating smoother transitions for a polished video presentation.
- Provides tools to add text overlays, titles, or captions to videos or images. This feature enables users to convey information, tell stories, or provide context within the video content.
- Merge background music, sound effects, or audio tracks in their videos, complementing the visual content and enriching the overall viewer experience.
- Supports various file formats for videos and images, ensuring compatibility with different media types commonly used in multimedia projects.
Steps to Make a Video from Photos via Clippa
Step 1: Open your web browser and go to the Clippa website.
Step 2: Click the “Upload” button to select the photos you want to use for your video. Alternatively, drag and drop the images directly into the designated area.
Step 3: Once the photos are uploaded, they are displayed as a thumbnail strip in the order they were added. Drag and drop the thumbnails to the desired sequence to rearrange the order.
Step 4: You can adjust the duration of each photo, choose a transition effect between the images, add background music, and modify the output format and quality.
Step 5: After customizing the settings, use the preview feature to see how the video will look. If any adjustments are needed, go back and make the necessary changes.
Step 6: Clippa will provide a download link once the video is ready. Click the download button to save the video to your computer or device.
CapCut – Crafting Visual Narratives
CapCut is a versatile platform ideal for crafting visual narratives by combining photos and videos. Offering features to merge multiple images and video clips, add text overlays, and incorporate transition effects, CapCut empowers users to create professional-looking videos seamlessly. Showcasing success stories or examples of videos created using Movie Maker Online highlights its capacity to enable users to tell compelling stories through captivating visuals.
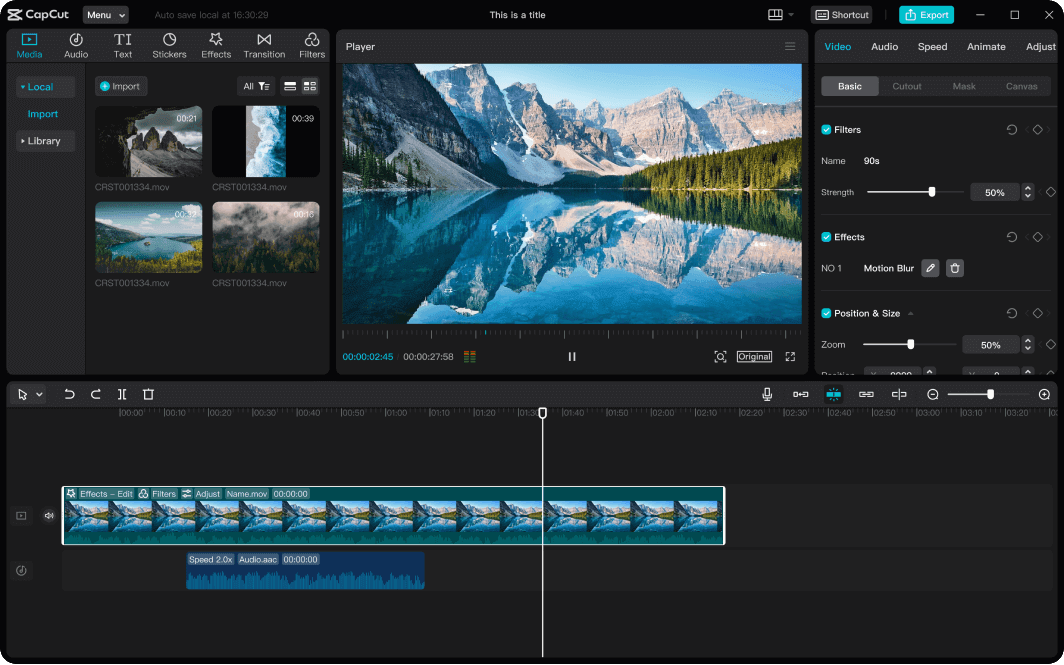
CapCut interface
Key Features of CapCut
- A simple and intuitive interface, making it easy for users of all skill levels to navigate and use the tool effectively.
- It allows you to trim, split, and merge video clips and adjust their speed and volume. You can also add text, overlays, and watermarks to your videos.
- It lets you create photo slideshows by uploading images and setting their duration. You can also add transitions and background music to enhance the slideshow.
- Supports various video file formats, allowing you to import and export videos in formats such as MP4, AVI, MOV, WMV, and more.
- It provides a collection of effects and filters you can apply to your videos, including color correction, grayscale, and sepia. These effects can enhance the visual appearance of your videos.
Steps to Make a Video from Photos via CapCut
Step 1: Access the CapCut website to create your video.
Step 2: Click on the “Start Editing” button to initiate the editing process.
Step 3: Select and upload the photos you want to include in your video. Please bring them to life through motion and storytelling.
Step 4: Arrange the photos in the desired order to create a cohesive and engaging storyline. Ensure a smooth flow between each image.
Step 5: Add filters or effects to enhance the visual appeal of your photos, adding an extra touch of creativity to your video.
Step 6: When satisfied with the result, export and save your video in a compatible format. Movie Maker Online will handle the conversion process.
Frequently Asked Questions about Combining Photos to Make a Video
- What is the benefit of combining photos to make a video?
Combining photos to make a video offers a dynamic and engaging way to present images. It allows you to create a narrative, add transitions, incorporate music or sound effects, and enhance the visual experience. By transforming static photos into a video format, you can captivate your audience, tell a story, evoke emotions, and create a more immersive viewing experience.
- What format should I export the combined photos and video in?
The appropriate export format depends on your intended use and the platforms you plan to share the video. Commonly used video formats like MP4, MOV, or AVI are widely compatible. They can be easily shared on social media, websites, or video hosting platforms. Consider the specific requirements of your target platform and choose a format accordingly.
- Can I add text or captions to the combined photos and video?
Adding text or captions to the combined photos and video can provide additional context, convey messages, or add artistic elements. Most video editing software and online platforms offer text overlay features that allow you to customize the text’s font, size, color, and position.
Conclusion
The convenience and accessibility of online tools for merging visual content redefine the art of storytelling. Encouraging users to explore these platforms for their creative projects, this article emphasizes the significance of combining photos and videos for impactful storytelling. In conclusion, these online tools serve as a gateway to unlock creativity, allowing individuals to tell stories that resonate and captivate audiences worldwide.