How to Blur Background in Photoshop – Beginners Guide

In photography and picture editing, blur softens portions or the whole backdrop. It may improve your images by focusing on the topic and generating a beautiful visual distinction from its surrounds. This effect is obtained by blurring the backdrop to highlight the primary topic. That’s blur: a portrait with a tastefully blurred backdrop that highlights the subject without distracting.

How to Blur Background in Photoshop – Beginners Guide
During the editing, blurring the backdrop can be complex for many. It makes images seem more lifelike and three-dimensional. Portrait photography uses blurring to keep the subject’s face sharp as the surrounding fades. Don’t worry about picture editing beginners! This beginner’s article will show you how to blur backgrounds in Photoshop, a powerful and popular tool for great effects. Let’s get going!
Table of Contents: hide
Why Do People Need to Blur the Background in Images?
5 Ways to Blur Background in Photoshop
Blur Background Using Lens Blur
Blur Background Using Motion Blur
Blur Background Using Gaussian Filter Blur
Why Do People Need to Blur the Background in Images?
Blurring the background in images serves several purposes and can enhance the overall visual impact of a photograph. Here are three concise reasons why people often choose to blur the background:
- Focus on the Subject– Focus the viewer on the image’s primary topic. Out of focus backgrounds make the topic shine out, establishing a distinct focal point and eliminating distractions.
- Create Depth and Dimension– Image depth can be added by blurring the backdrop. Separating the main topic from the backdrop gives the shot a three-dimensional impression. This method is great for portrait photography and highlighting a scene piece.
- Enhance Aesthetics– Blurring the background can significantly enhance the overall aesthetics of an image. It can create a dreamy and cinematic effect, making the photo more visually appealing. Whether you want to add a professional touch to your product images or capture artistic compositions, blurring the background can help you achieve a visually striking result.
5 Ways to Blur Background in Photoshop
Blurring the background in your photos can add a touch of magic, turning ordinary images into captivating visual stories. In Photoshop, several methods exist to achieve this effect, each with unique characteristics. Let’s delve into four popular methods that will help you master the art of background blurring.
Blur Background Using Lens Blur
Imagine the soft, dreamlike quality seen in professional portraits or breathtaking landscapes. Lens blur can help you achieve this effect, simulating the natural way camera lenses focus on subjects. This technique lets you adjust parameters like Radius to control the strength of the blur, Specular Highlights to manage brightness, and even Shape and Blade Curvature to shape the virtual lens.
By applying lens blur, you can precisely draw the viewer’s gaze to your subject while painting a canvas of smooth background tones. It’s the secret behind those mesmerizing images that make your subject pop against an artistic blur. Follow the steps below to blur the background using Lens Blur
Step 1: Select the image layer you want to blur.
Step 2: Navigate to the Filter menu, then choose Blur > Lens Blur.
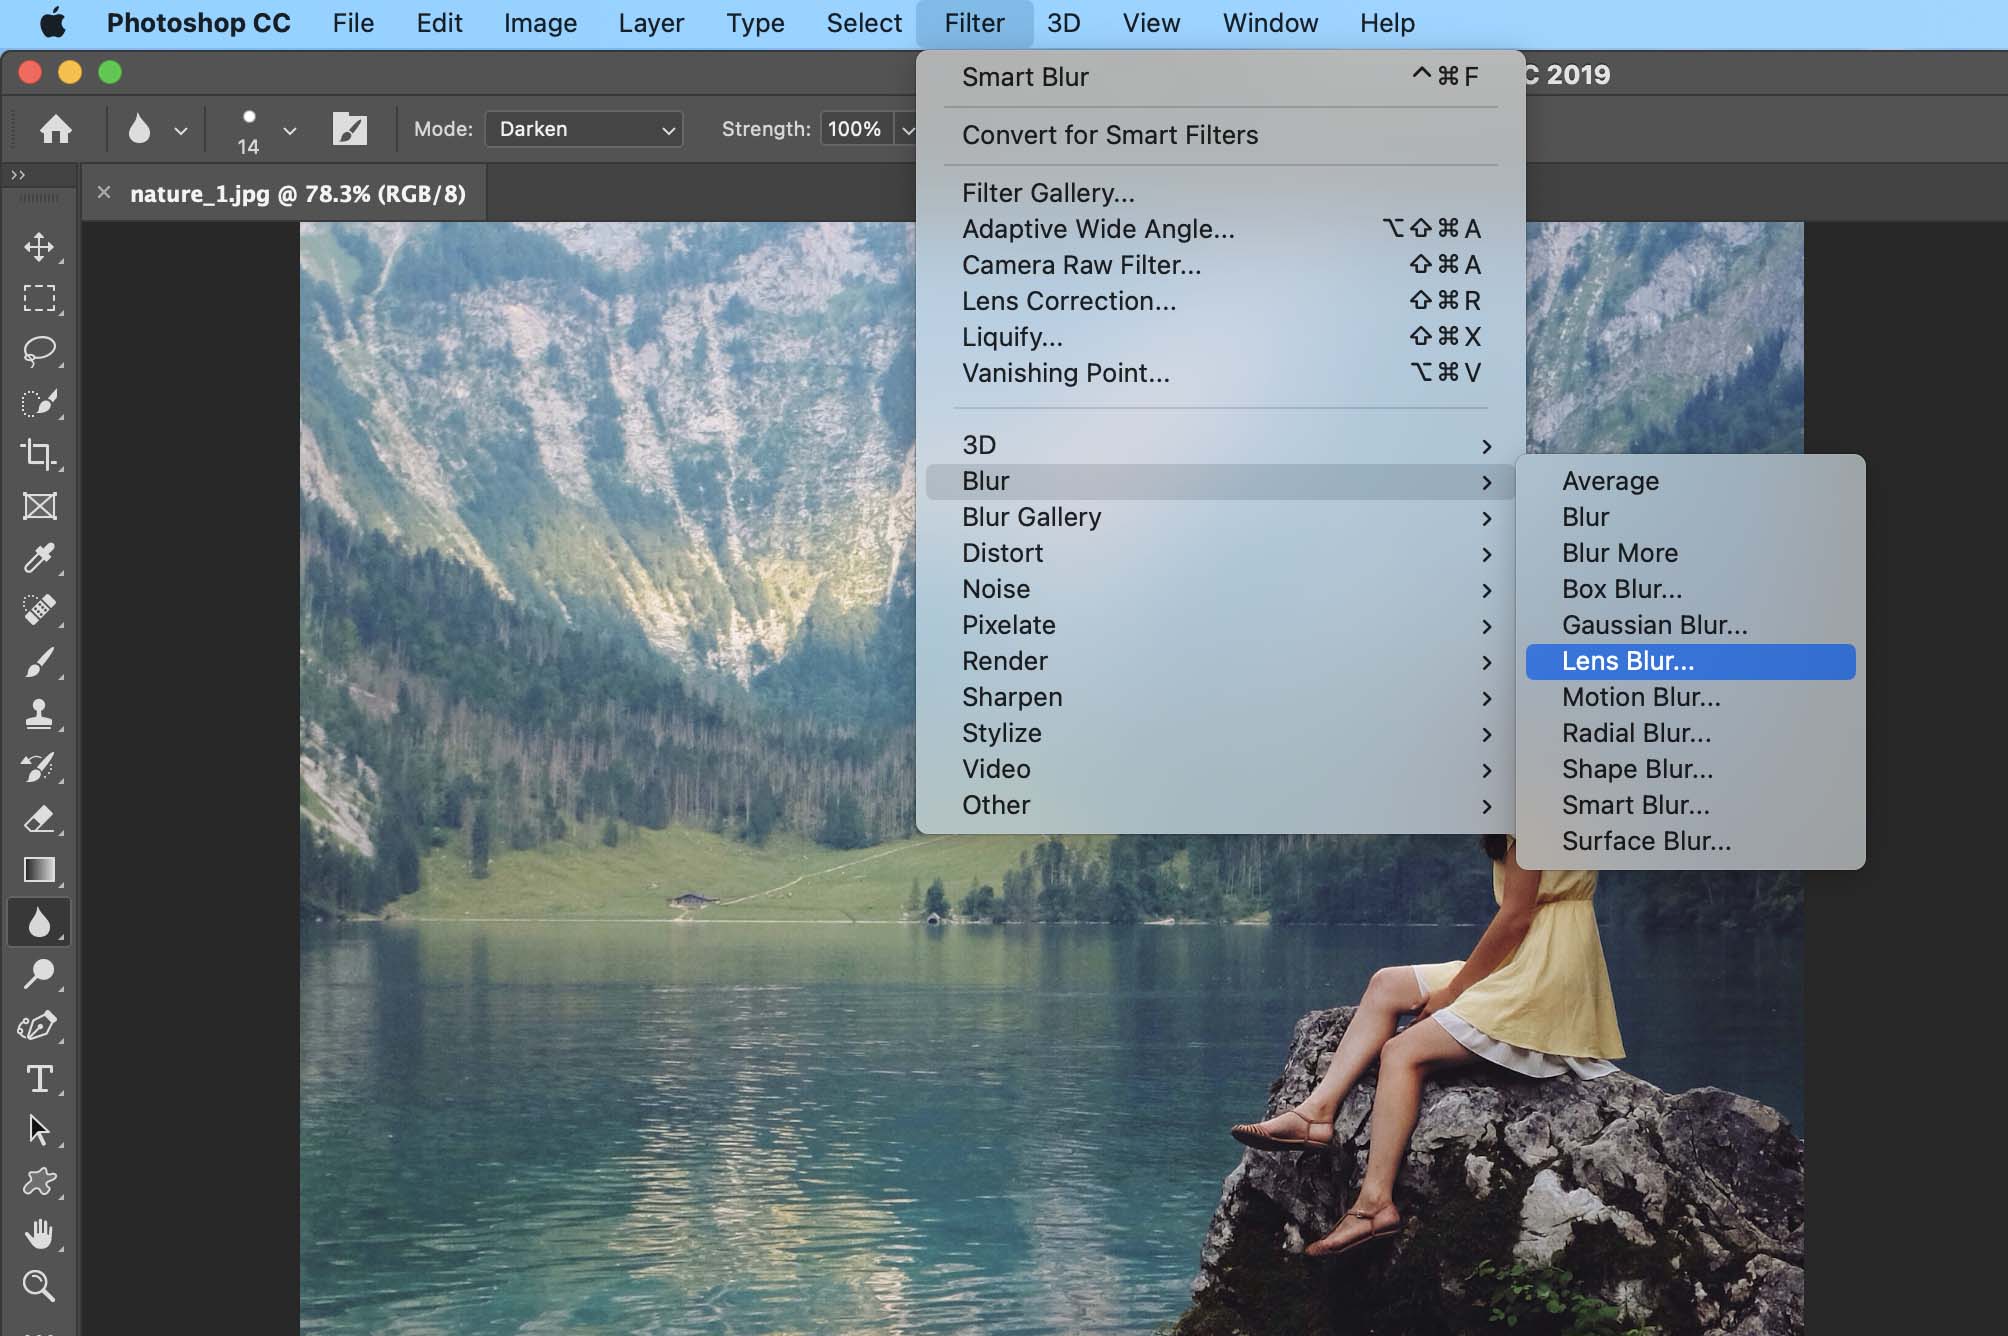
Lens Blur
Step 3: Play with the Radius to adjust the blur strength and tweak other settings according to your taste.
Step 4: Observe the Specular Highlights to control brightness variations in the background.
Step 5: Experiment with Shape and Blade Curvature to modify the virtual lens characteristics.
Step 6: Click OK to apply the lens blur and witness the magical depth it adds to your image.
Blur Background Using Motion Blur
Sometimes, a photo tells a story of movement and dynamism. Motion blur is your tool to achieve this effect. Think of a car speeding by or a person captured mid-motion – motion blur recreates the sensation of rapid movement, adding energy to your visuals.
By adjusting the Distance and angle, you control the intensity and direction of the blur, mimicking the effect of objects in motion. This method is perfect for capturing a sense of speed or emphasizing the feeling of action. Follow the steps below to blur the background using Motion Blur:
Step 1: Select the image layer to which you want to apply motion blur.
Step 2: Head to the Filter menu, then choose Blur > Motion Blur.
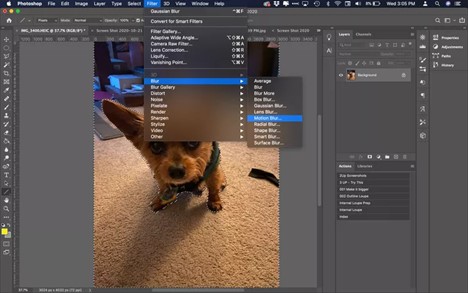
Motion Blur
Step 3: Adjust the Distance to control the strength of the blur effect.
Step 4: Specify the angle of the motion by entering a number in the corresponding box.
Step 5: Click OK to confirm your settings and infuse your image with a dynamic motion.
Blur Background Using Gaussian Filter Blur
The Gaussian Blur filter is your go-to solution when you’re after a classic, soft background that doesn’t steal the limelight from your subject. It’s like gently diffusing the background, creating a dreamy atmosphere that accentuates your main subject.
This approach is ideal for portraits and still-life images when you want your subject to shine out while the backdrop is unobtrusive. Gaussian Blur steps to blur the background:
Step 1: Open the picture you want in Photoshop.
Step 2: Right-click and choose “Duplicate Layer.” to duplicate the background layer.
Step 3: Choose the copied layer and choose Filter > Blur > Gaussian Blur.
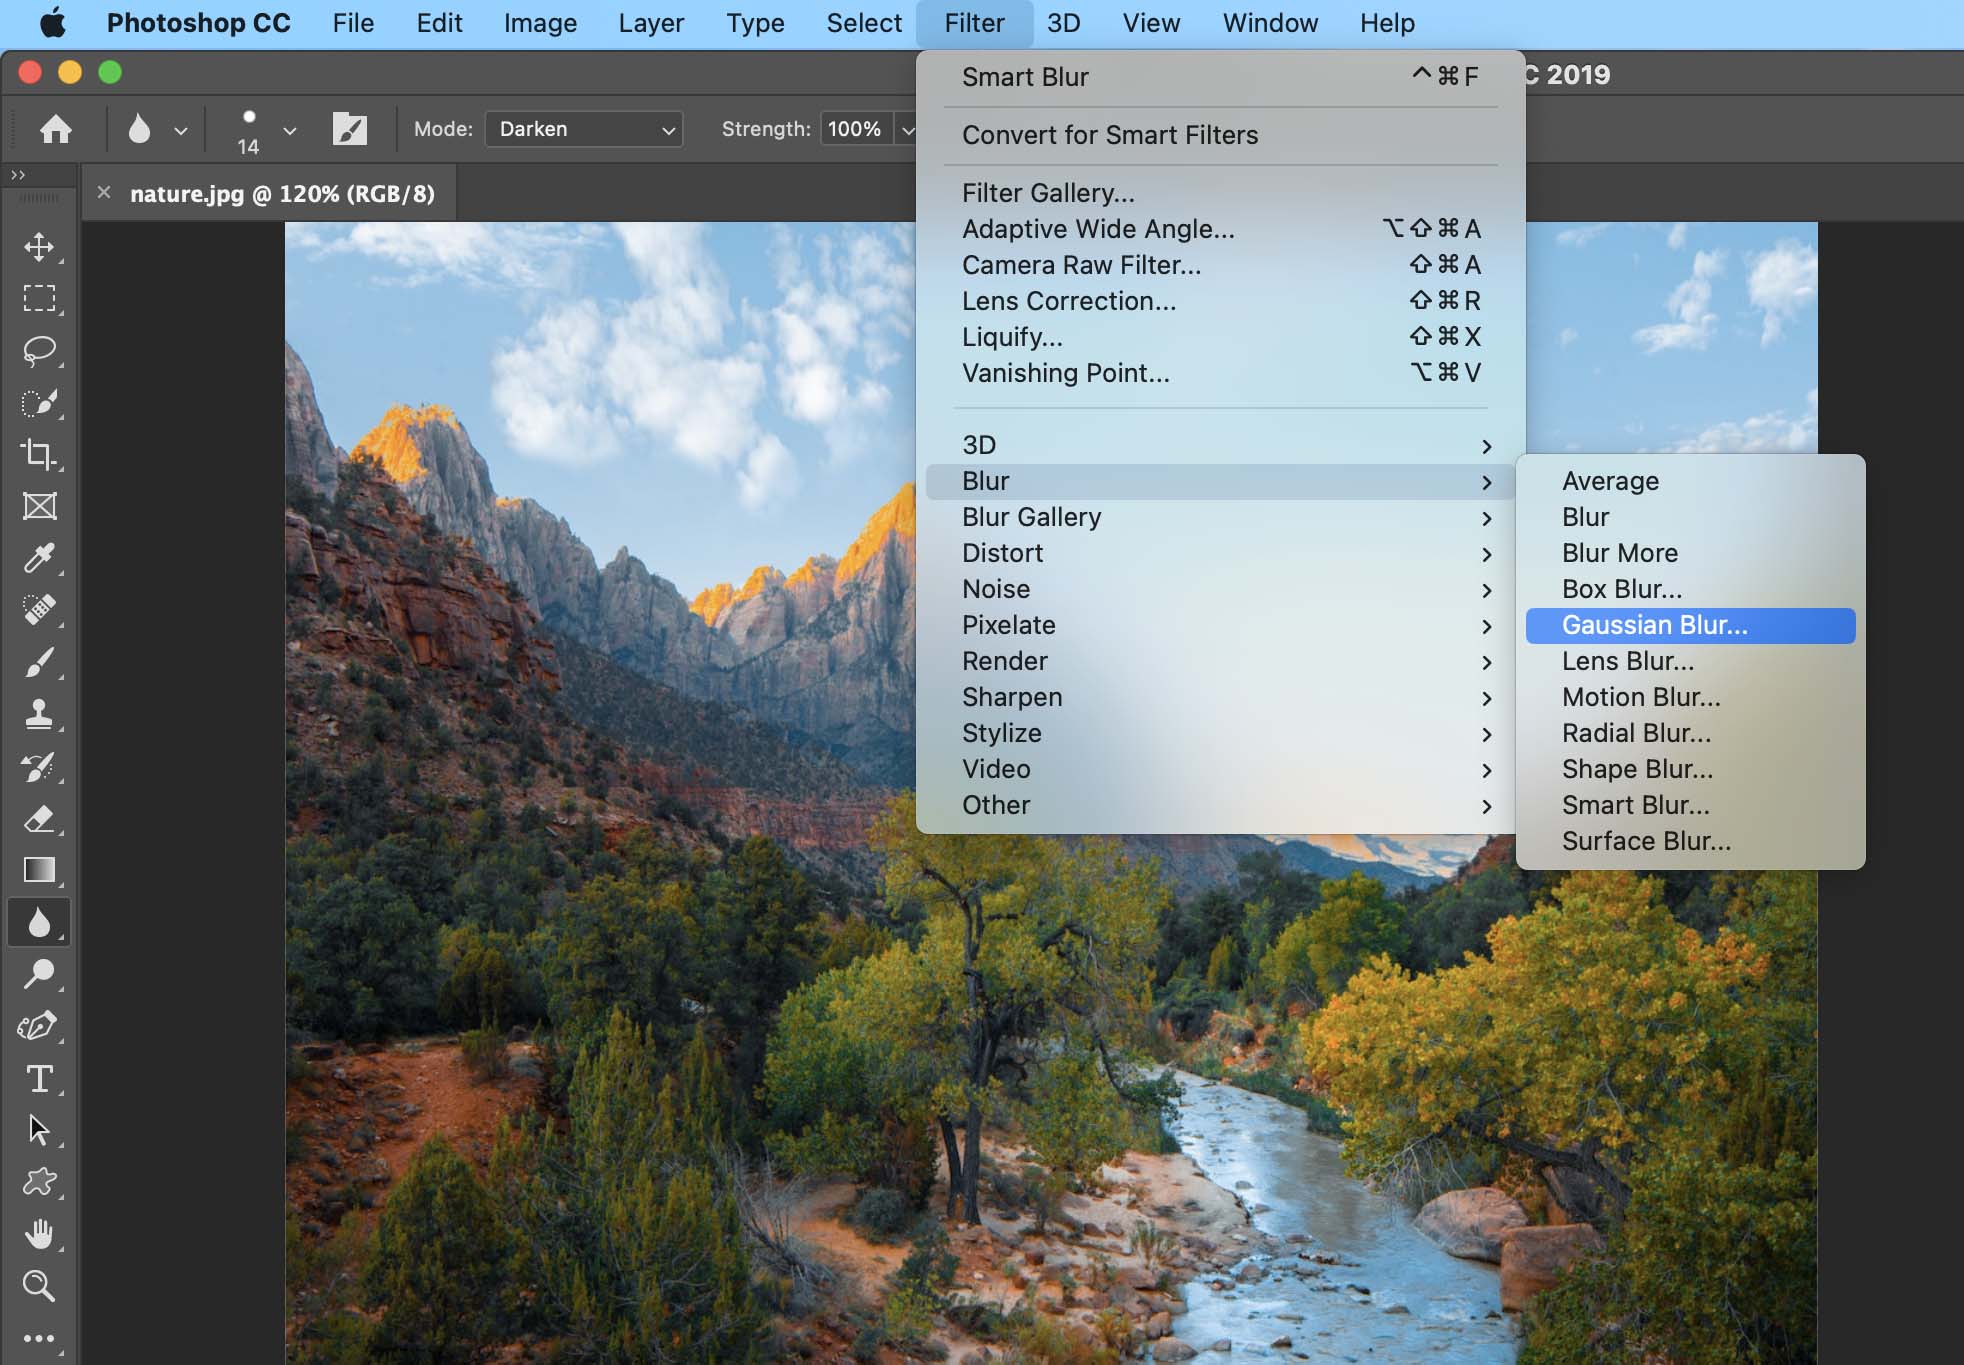
Gaussian Blur
Step 4: Adjust the radius slider to control the amount of blur. Preview changes and click OK when satisfied.
Step 5: To retain a sharp foreground, create a layer mask for the duplicated layer and use black paint to reveal the subject while keeping the background soft.
Blur Background Using Smart Blur
Smart Objects provide a way to make changes without permanently altering the original file. With this technique, you may add different blur filters to a picture without losing any of the original quality. Smart Objects are perfect for experimenting with different blur effects alongside keeping the original details. Follow the steps below to blur the background using Smart Objects Blur:
Step 1: Open your image in Photoshop.
Step 2: Right-click on the image layer and choose “Smart Object.” With the smart object layer selected, go to the Filter menu, then choose Smart Blur filter.
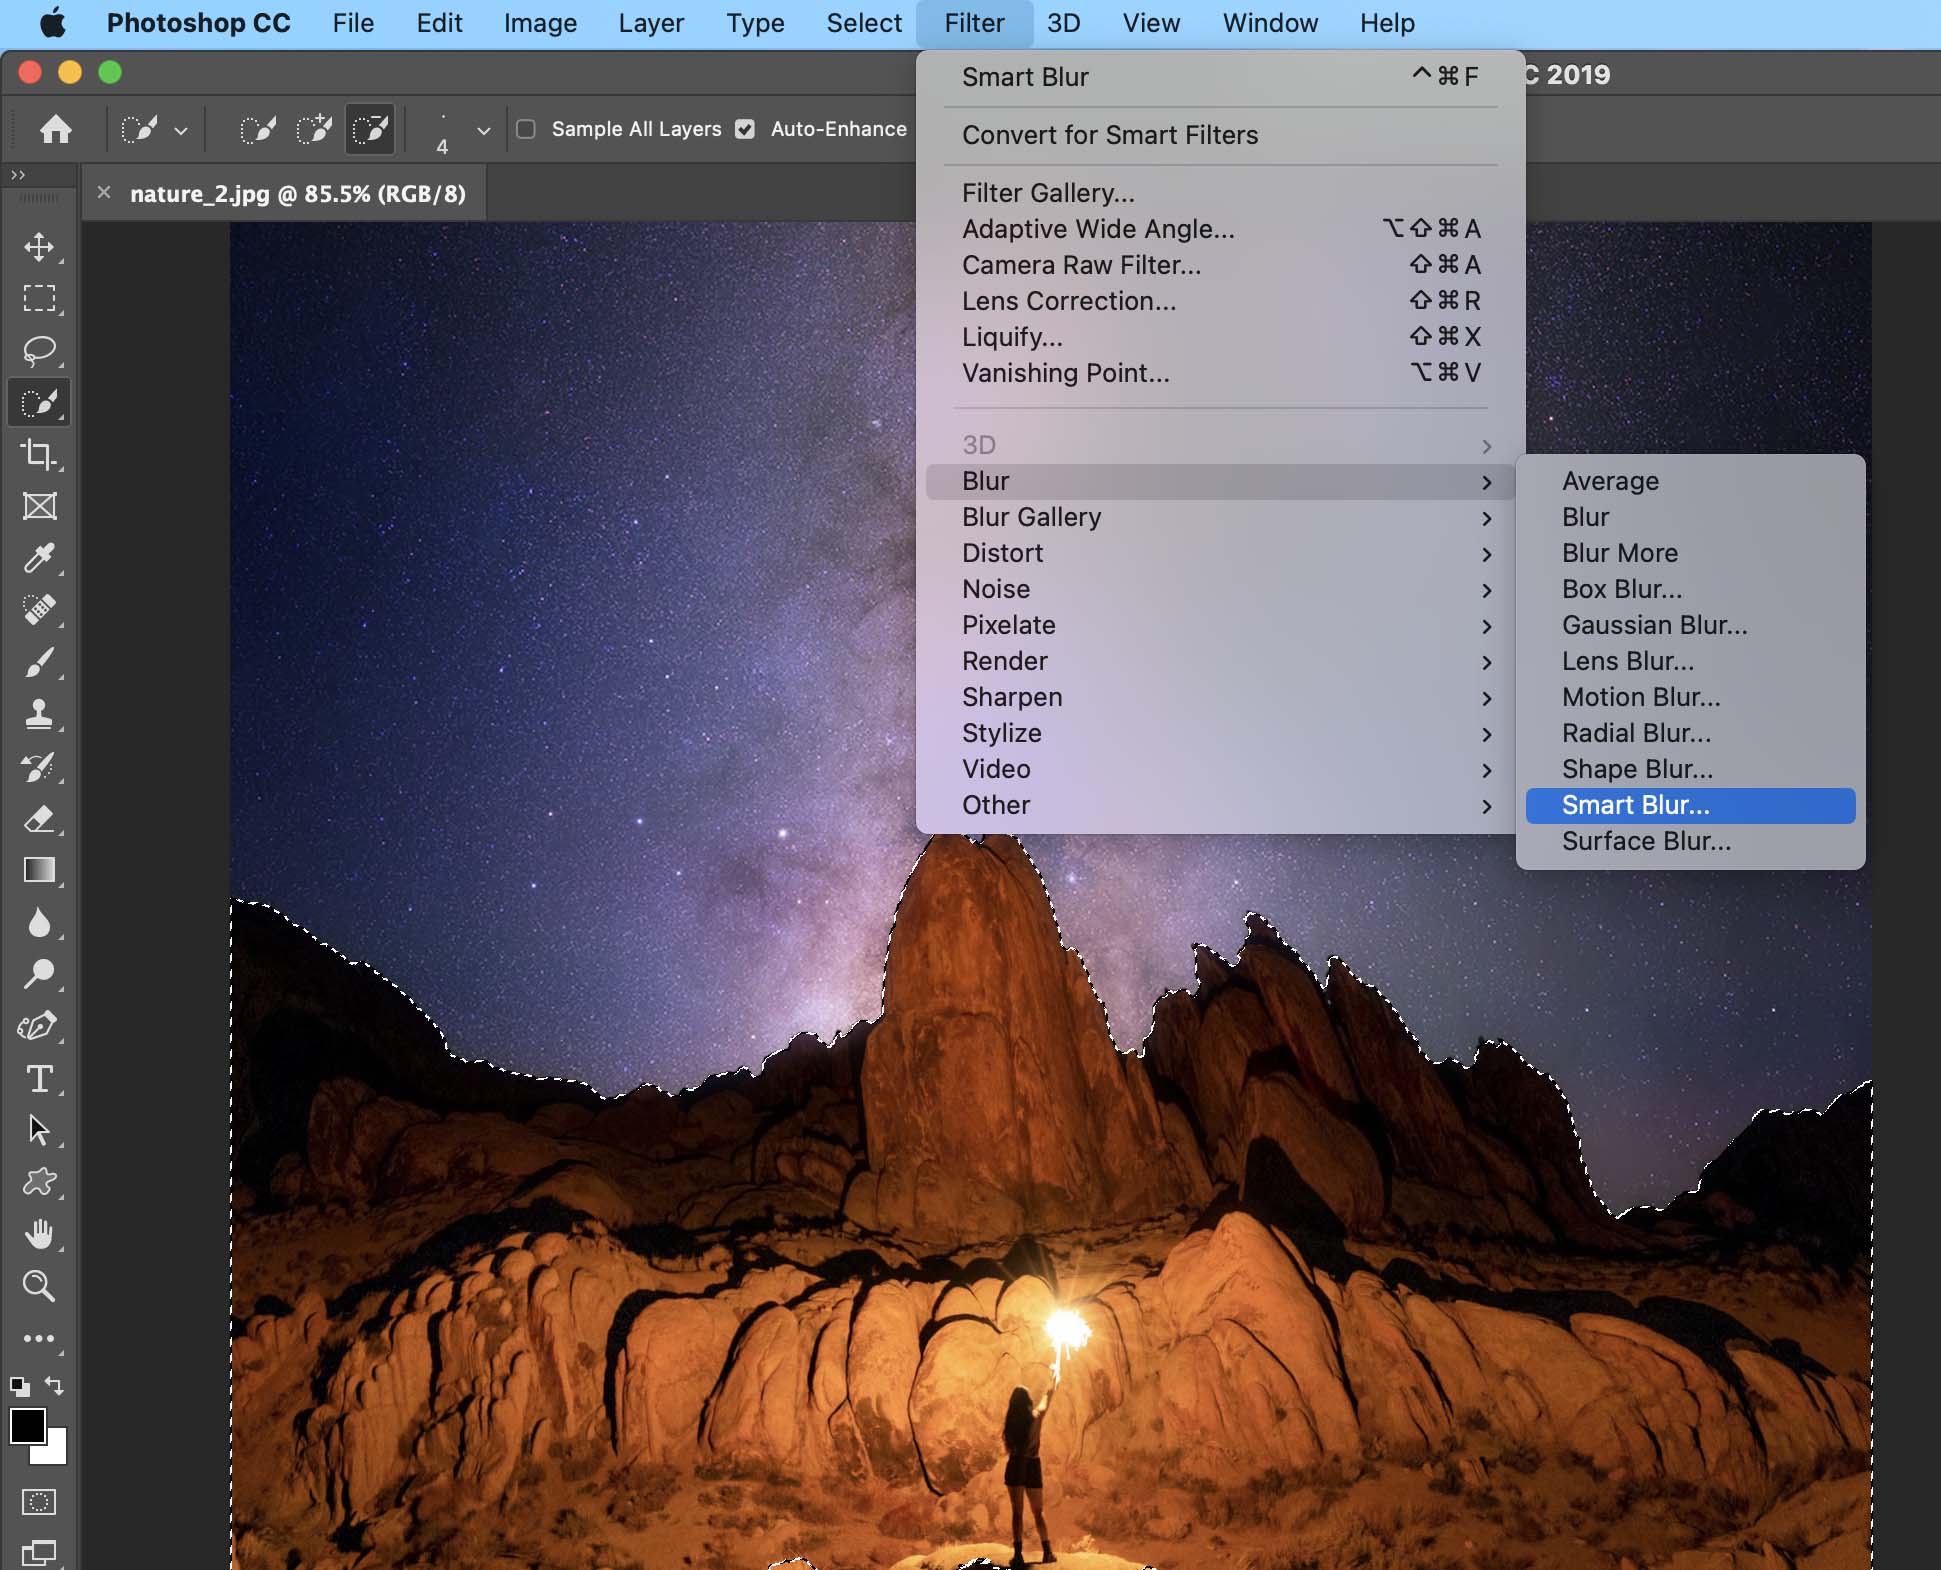
Smart Blur
Step 3: Adjust the filter dialogue box’s blur settings to achieve your desired effect. Click OK.
Step 4: Fine-tune the blur by double-clicking the smart object layer thumbnail to open a new window. Adjust and save.
Step 5: Close the smart object window to see the updated blur effect in your main document.
Blur Background Using Radial Blur
Radial Blur gives your photograph a unique look. This is not real, but it seems like the foreground guy exited through a doorway or hatch.
Note: Radial Blur does not preview, so you may need to try numerous settings to get the desired look.
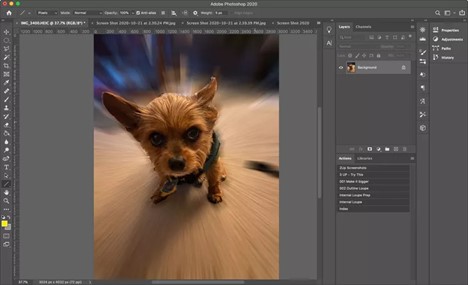
Radial Blur
Mastering these techniques opens a world of creative possibilities. Whether you want to add depth, emphasize motion, or create an enchanting ambience, these methods will empower you to craft images that truly stand out. So, blur your background, and watch your images transform into captivating works of art.
Final Thought
In this article, we’ve used Photoshop’s flexible tools to create this effect with Lens Blur’s creative depth, Motion Blur’s dynamic vitality, and Gaussian Blur’s subtle emphasis. Each method adds depth to your photographs, letting you create tales, provoke emotions, and engage viewers. Try these ways to uncover background blurring’s transformational power, whether you’re a novice or an aficionado.
Remember that practice is essential as you learn this art. By using these approaches on various photographs, you’ll learn when and how to use background blur to make a statement. Have fun, explore, and accept trial and error while creating powerful visuals.