Have you ever watched a movie or video game and marveled at the smooth, cinematic quality of the motion? That’s often achieved with motion blur. Motion blur is a subtle effect that simulates the blurring that naturally occurs when objects move quickly, making videos appear smoother and more visually appealing.
The good news is you don’t need Hollywood-level software to achieve this effect. Capcut, the popular mobile video editing app, makes it surprisingly easy to add motion blur to your videos, even if you’re a beginner. Let’s dive into the how-to!
Step-by-Step Guide to Adding Motion Blur in Capcut
Follow these simple steps to add motion blur to your videos using Capcut:
Step 1: Import Your Footage
Open Capcut and start a new project. > Tap the “+” button to import the video clip you want to edit from your device’s library.
Open CapCut and Sign in to Your Account
Step 2: Identify Frames for Motion Blur
Before adding the effect, watch your video and identify the specific frames or sections where you want to apply motion blur. Look for moments of fast movement or action where the blur would enhance the visual impact.
Step 3: Access the Speed Curve
Tap on your video clip in the timeline to select it. > From the menu that appears above the timeline, select “Speed.”
Choose “Normal” from the speed adjustment options. > Tap on the “Curve” icon to access the speed curve editor.
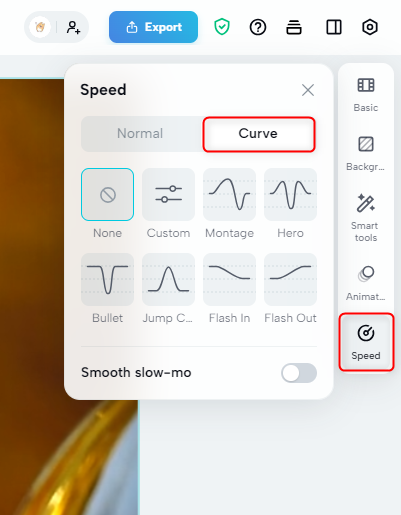
Access the Speed Curve
Step 4: Create Speed Variations
The speed curve represents the speed of your video over time. To create motion blur, you’ll manipulate this curve to introduce subtle slowdowns and speed-ups.
Tap on the curve line to add control points. You’ll need at least two points close together to create a speed variation.
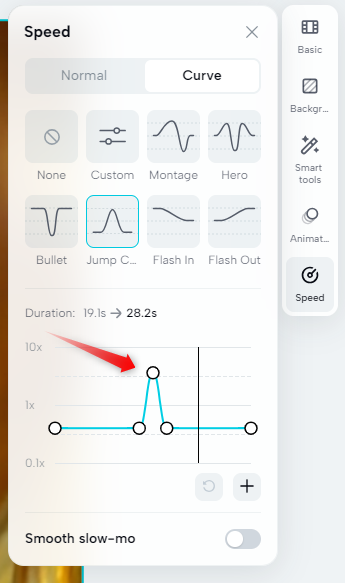
Create Speed Variations
Drag the control points down to slow down the video and up to speed it up. The steeper the curve, the more intense the motion blur effect will be.
Step 5: Adjust Blur Intensity
Preview your video by tapping the play button. Observe the motion blur effect and fine-tune the speed curve adjustments until you achieve the desired intensity.
Remember, subtlety is key. Too much motion blur can make your video look unnatural.
Step 6: Preview and Export
Once you’re satisfied with the motion blur effect, preview your entire video to ensure it flows smoothly.
Finally, tap the export button (usually an upward arrow icon) to save your edited video to your device or share it directly to social media platforms.
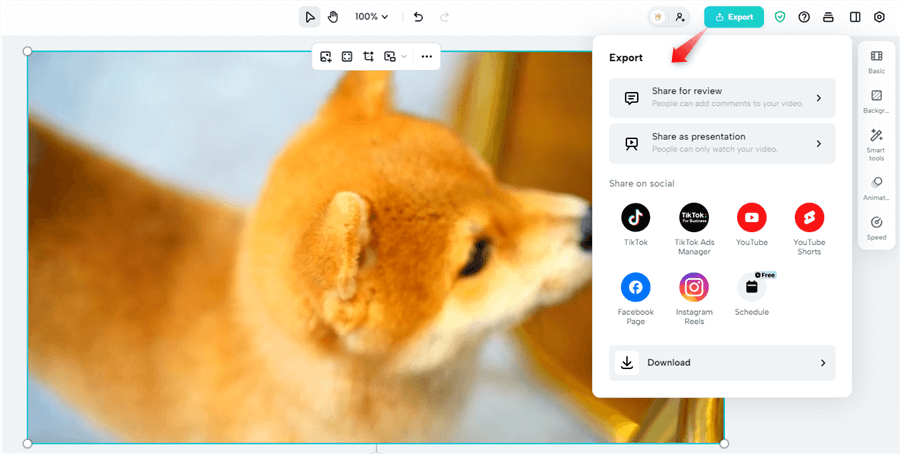
Export the Video
6 Best Alternatives to CapCut for Adding Motion Blur
Motion blur can transform your videos from ordinary to cinematic, adding a sense of speed, drama, and realism. Here’s a breakdown of five popular mobile video editing apps that offer motion blur capabilities:
FocuSee
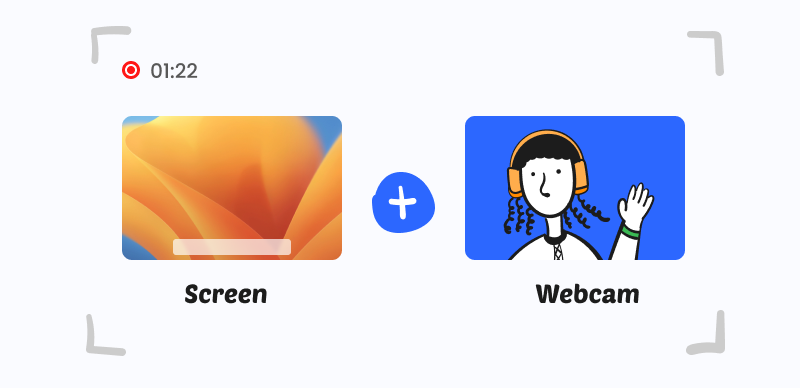
As the first recommended CapCut motion blur alternative, FocuSee is perfectly tailored to meet your needs. It can automatically apply motion blur effects to mouse movements, screen zooms, and screen transitions when you recording the screen. Help you to enhance the visual experience of your video easily.
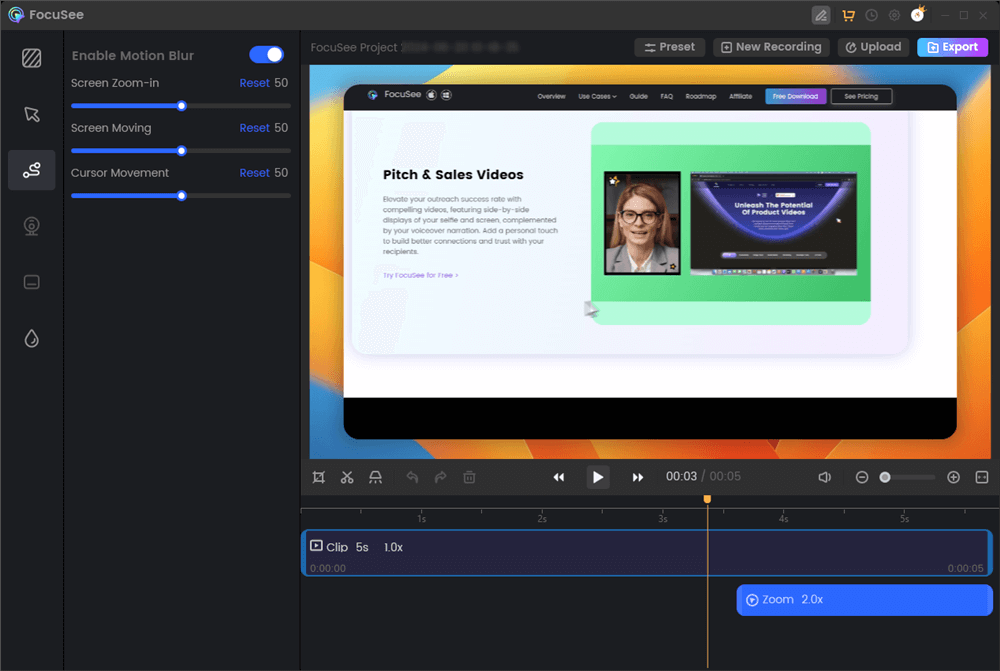
Motion Blur Effect on FocuSee
Key Features of FocuSee:
- Automatic Zoom-In: FocuSee automatically follows the cursor movement and applies dynamic zoom-in effects to enhance the video.
- Customization Options: You can choose from different cursor styles, and layouts for the selfie and screen, customize the appearance with camera frames and filters, and add backgrounds, rounded corners, shadows, and padding to make the video more appealing.
- Motion Blur Effect: FocuSee can apply motion blur effects to mouse movements, screen zooms, and screen transitions to enhance the visual experience.
- Auto-Caption: It provides real-time transcription of spoken words during the recording process.
Pros:
- It works well both on macOS and Windows.
- Rich customization options.
- It supports various recording purposes, including tutorials, demos, and promo videos, providing flexibility for different content creation needs.
Cons:
- Major updates may require additional upgrade fees.
VN Video Editor
VN is a free, powerful video editing app that’s popular among both beginners and professionals. It offers a wide range of features, including a robust motion blur tool.
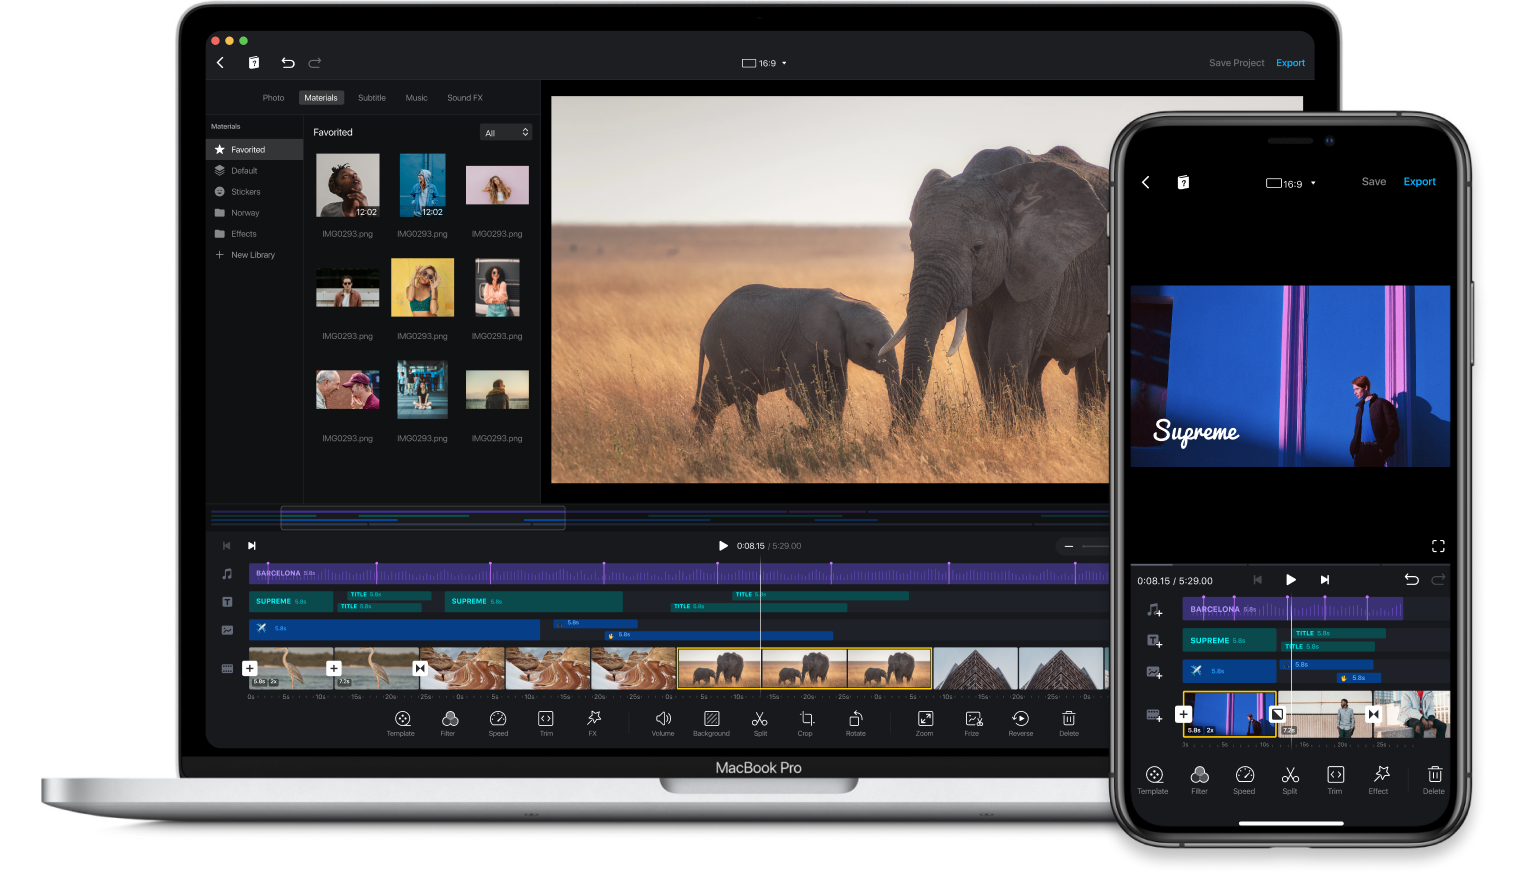
CapCut Alternative – VN Video Editor
Key Features:
- Speed Curves: VN utilizes speed curves to control the intensity and duration of motion blur, allowing for precise adjustments.
- Multiple Keyframes: You can add multiple keyframes to fine-tune the motion blur effect throughout your clip.
- Ease of Use: Despite its advanced features, VN maintains a user-friendly interface.
Pros:
- Free with no watermarks
- Precise control over motion blur with speed curves and keyframes
- User-friendly interface
Cons:
- Can be resource-intensive on older devices
- Limited advanced editing features compared to professional-grade apps
Pricing: Free
InShot
InShot is another popular video editing app known for its simplicity and ease of use. It offers a quick and easy way to add motion blur to your videos.
CapCut Alternative – InShot
Key Features:
- Dedicated Motion Blur Slider: InShot simplifies the process with a dedicated slider to control the intensity of the motion blur effect.
- Beginner-Friendly: The app’s intuitive design makes it perfect for users new to video editing.
Pros:
- Extremely easy to use, even for beginners
- Dedicated motion blur slider for quick adjustments
Cons:
- Limited control over the motion blur effect
- Fewer features compared to more advanced apps
Pricing: Free with in-app purchases for premium features
KineMaster
KineMaster is a professional-grade video editing app packed with advanced features, including sophisticated motion blur controls.
Capcut Alternative – KineMaster
Key Features:
- Layering and Blending: KineMaster allows you to layer multiple speed effects and blend them for unique and creative results.
- Granular Control: Achieve precise control over the intensity, duration, and style of your motion blur.
- Advanced Editing Suite: Access a full suite of professional editing tools beyond motion blur.
Pros:
- Unparalleled control over motion blur with layering and blending options
- Wide range of advanced editing features
- Ideal for professional and creative projects
Cons:
- Steeper learning curve compared to simpler apps
- Subscription is required to unlock all features and remove the watermark
Pricing: Free with watermark; Subscription-based for full features
Adobe Premiere Rush
Adobe Premiere Rush brings the power of Adobe’s professional editing software to mobile devices, offering a streamlined experience with robust features, including motion blur.
Adobe Premiere Rush
Key Features:
- Familiar Interface: Users familiar with Adobe Premiere Pro will find the interface intuitive and easy to navigate.
- Seamless Workflow: Easily transfer projects between Rush and other Adobe Creative Cloud applications.
- Adobe Stock Integration: Access a vast library of royalty-free music, sound effects, and video clips.
Pros:
- Powerful motion blur capabilities similar to desktop Premiere Pro
- Seamless integration with the Adobe Creative Cloud ecosystem
- Ideal for users already invested in Adobe products
Cons:
- Requires an Adobe Creative Cloud subscription
- May feel overwhelming for beginners
Pricing: Requires an Adobe Creative Cloud subscription
LumaFusion
LumaFusion is a powerful video editing app exclusive to iOS, renowned for its professional-level features and precise control over video parameters, including motion blur.
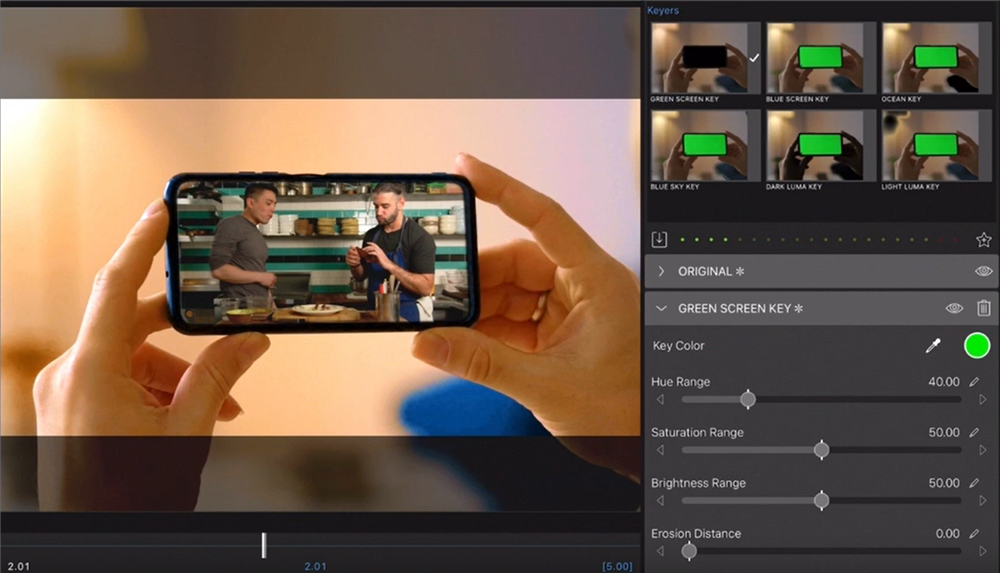
CapCut Alternative – LumaFusion
Key Features:
- Precise Control: LumaFusion offers granular control over speed effects, allowing for highly customized motion blur.
- Professional Features: Benefit from a wide array of professional editing tools, including multi-track editing, color grading, and audio mixing.
- Intuitive Interface: Despite its advanced features, LumaFusion maintains a user-friendly interface designed for touchscreens.
Pros:
- Excellent for professional-level video editing on iOS
- Precise control over motion blur and other effects
- Intuitive interface designed for touch devices
Cons:
- Only available on iOS
- Higher price point compared to other mobile apps
Pricing: One-time purchase
Comparison Table
| App Name | Platform | Key Features | Price |
| FocuSee | Windows & macOS | Automatic zoom-in, extensive customization options for cursor styles and video layout, motion blur effects, and an auto-captioning tool for real-time transcription. | Free trial, then subscription required |
| VN Video Editor | iOS, Android | Powerful and intuitive, offers keyframe speed control for precise blur adjustment. | Free, with in-app purchases |
| InShot | iOS, Android | Beginner-friendly, provides a simple slider to control motion blur intensity. | Free, with in-app purchases |
| KineMaster | iOS, Android, Desktop | Professional-grade app, offers advanced speed controls and blending modes for customized blur effects. | Free, with subscription option |
| Adobe Premiere Rush | iOS, Android, Desktop | Part of the Adobe Creative Cloud suite, offers a streamlined interface and professional-level features, including motion blur. | Free trial, then subscription required |
| LumaFusion | iOS | Powerful multi-track editor for iOS, allows for precise control over speed ramps and motion blur. | One-time purchase |
FAQs on Motion Blur in Capcut and Beyond
Q1: Can I add motion blur to photos in Capcut?
While Capcut excels at video editing, motion blur is generally applied to moving images. It’s not a standard feature for photos within Capcut.
Q2: Why doesn’t my motion blur look smooth?
Several factors can affect the smoothness of your motion blur:
Abrupt Speed Changes: Ensure your speed curve transitions smoothly. Avoid sharp peaks or valleys.
Low Video Resolution: Motion blur is more noticeable in higher-resolution videos.
App Limitations: Some apps may have limitations in processing motion blur. Try a different app from our list above.
Q3: Are there free apps that offer motion blur?
Yes! VN, InShot, and KineMaster all offer free versions with motion blur capabilities, though they may have limitations compared to their paid versions.
Conclusion
Adding motion blur to your videos can dramatically enhance their quality, giving them a professional and cinematic feel. Capcut makes this process incredibly easy, even for beginners. By following the steps outlined in this guide and experimenting with different techniques, you can elevate your video editing skills and create truly captivating content.
Now that you know how to add motion blur in Capcut and other apps, it’s time to put your knowledge into practice! Experiment, explore, and don’t be afraid to push the boundaries of your creativity.
Have any questions or want to share your awesome motion blur creations? Leave a comment below! Happy editing!