How to use green screen effects in videos?

Last Updated: Sep. 24, 2024 | FEATURED IN: Youtube 102 >
The green screen effect is a widely used video production technique that allows creators to replace backgrounds at any time, helping to produce creative videos. Whether you want to shoot a sci-fi film, travel videos, or brand advertisements, the green screen effect enables you to do it effortlessly, making your content appear more professional.
How to use green screen effects in videos?
This article will provide an in-depth explanation of green screen technology, from setting up the green screen to post-production editing, so you can quickly master this skill—even if you’re a beginner, you’ll find it easy to use.
1. What is a Green Screen? Why Use It?
A green screen, also known as chroma keying, is a visual effects technique. It leverages the color difference between the subject (foreground) and the green background. When filming in front of a green screen, the camera records both the subject and the green background.
In post-production, software analyzes the video, identifies the green pixels, and removes (keys out) these pixels, leaving a transparent area where a new background can be inserted. This technique is widely used in movies, TV, and increasingly on social media to create dynamic, engaging videos.
Why use a green screen?
Flexibility: It allows creators to shoot videos for various scenes without leaving the room, simply adding the desired background in post-production.
Cost-Effective: There’s no need to rent expensive locations, as all scenes can be created in post-production.
Creative Freedom: Green screens enable you to easily add special effects or virtual scenes, making your videos more engaging.
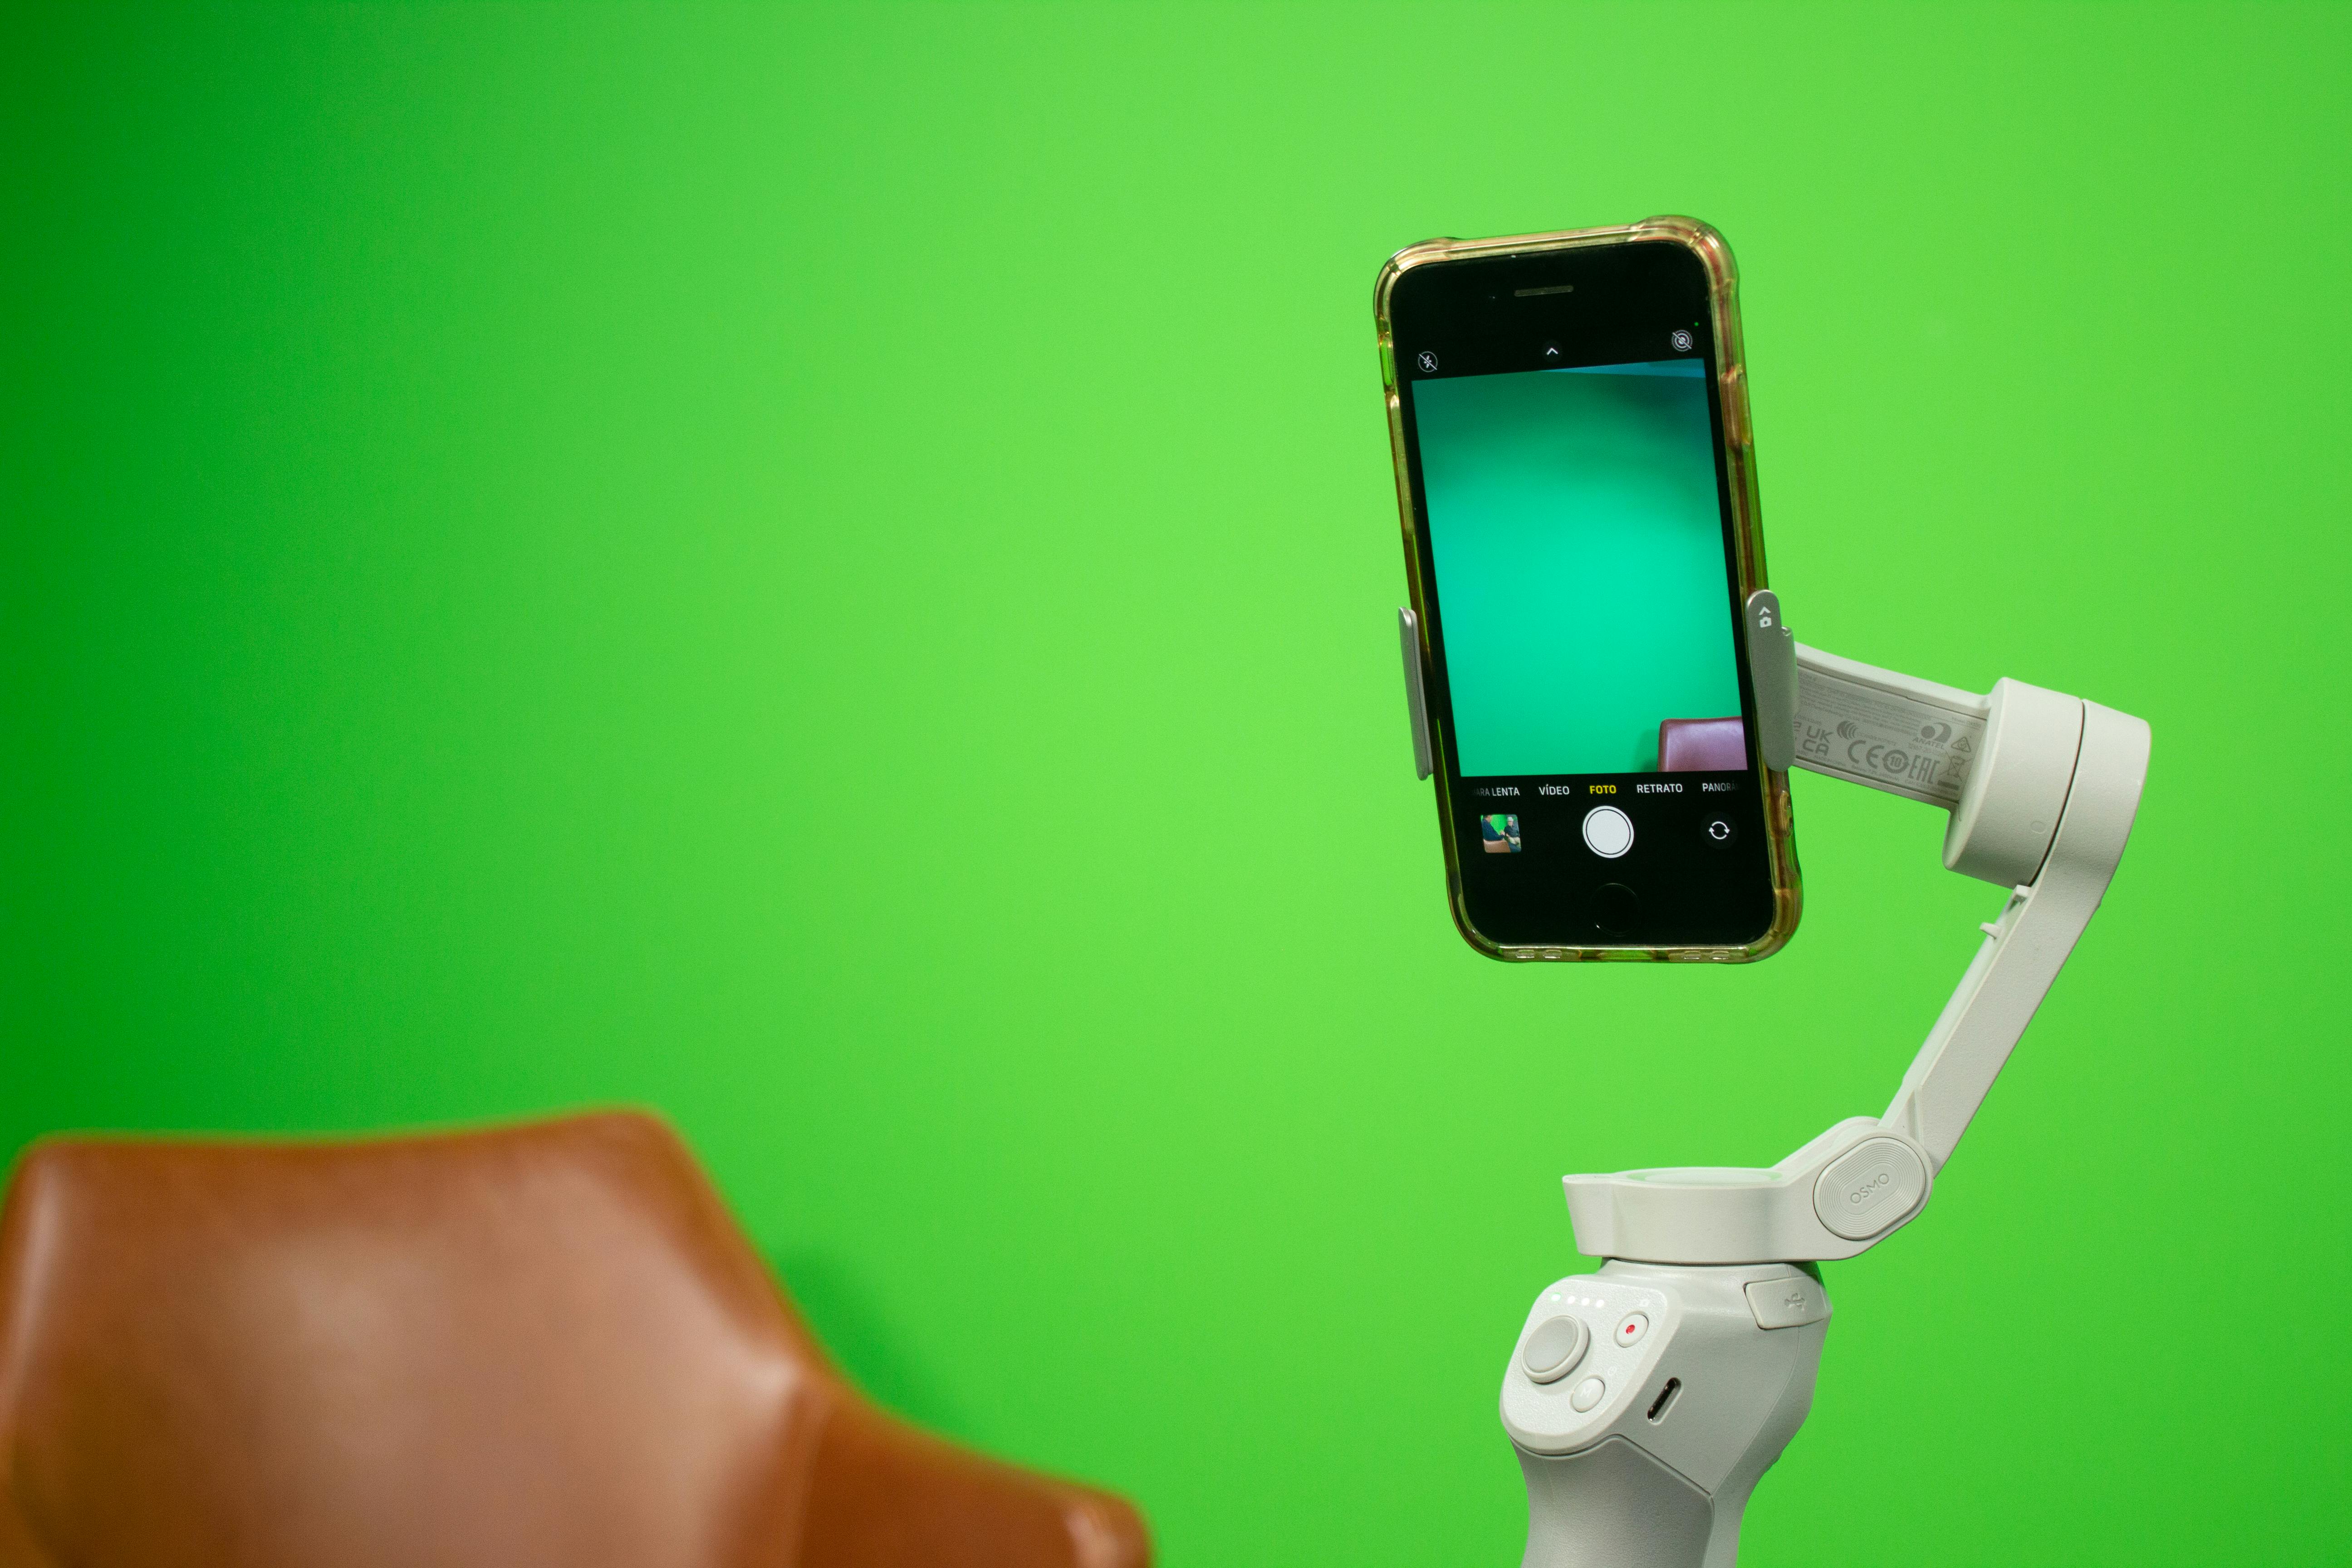
green screen
2. How to Set Up a Green Screen
Choose the Right Green Screen
Fabric Green Screen: Choosing the right material is crucial. Fabric green screens are widely available, affordable, and easy to set up.
Painted Green Screen: If you have a fixed shooting location, consider using green paint to create a permanent background wall.
Portable Green Screen: These are foldable and ideal for mobile setups, perfect for those who need to move their equipment frequently.
Proper Lighting
Lighting is the key to a successful green screen setup. Uneven lighting can cast shadows or create bright spots on the screen, making it difficult to remove in post-production. Ensure even lighting across the screen without shadows or reflections.
For beginners, using two softbox lights to illuminate the green screen from both sides and a backlight to highlight the subject can prevent green reflections from showing on the subject or object.
3. How to Record Green Screen Videos
Subject Placement
Maintain a distance of 1.5 to 2 meters between the subject and the green screen to avoid contact, which could create problems during post-production.
Camera Settings
Shoot in 4K or at least 1080p resolution for better keying results. Higher resolution ensures cleaner edges when removing the background. Additionally, slightly increasing the shutter speed will reduce motion blur.
Wardrobe Considerations
Avoid wearing green or colors similar to the green screen! If you do, you’ll blend into the background and disappear during post-production.
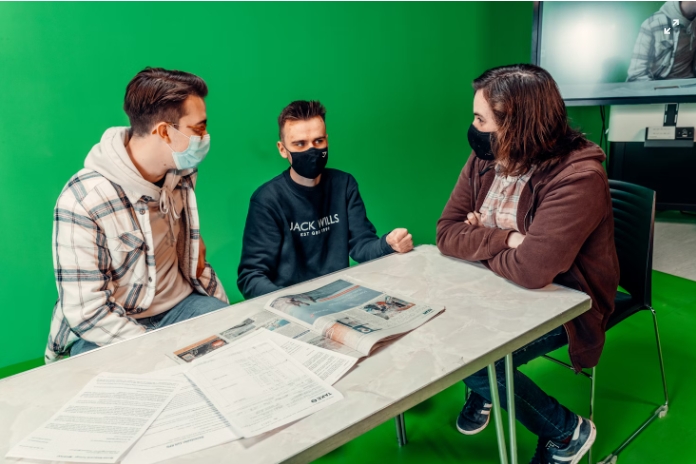
green screen shooting
4. How to Key Out and Edit Green Screen Videos
Using the “Chroma Key” Tool:
Though it sounds complicated, keying out the background is actually straightforward. Most video editing software, such as iMovie and Filmora, includes a “chroma key” tool. Simply select the green area on the screen, and the software will automatically remove it, making it beginner-friendly.
Professional Tools:
For more advanced users, software like Adobe Premiere Pro or DaVinci Resolve offers more sophisticated controls. You can fine-tune keying parameters like tolerance and edge feathering to make the transition between the subject and the new background more natural. You’re then free to add any background you wish.
Free Background Resources:
Websites like Unsplash and Pixabay offer a variety of high-quality free backgrounds to help you easily replace the green screen.
Keying Steps:
1. Import Footage: Import your video footage into your editing software.
2. Apply Chroma Key Effect: In the software, choose the “chroma key” or “green screen” function to remove the background.
3. Adjust Keying Parameters: Adjust the keying parameters like “tolerance” and “edge feathering” to ensure clean edges and proper background removal.
4. Replace the Background: Add a new background video or image behind your subject to complete the effect.

green screen
5. Using Green Screen to Create Creative Videos
The green screen is not just for background replacement; it can also be used to add dynamic effects, making your videos more creative and professional.
Add Virtual Backgrounds:
Use the green screen effect to insert landscapes, office environments, or other virtual scenes during post-production, creating the exact look and feel you want.
Effects and Animation:
You can also use green screen technology to add animated effects, special scenes, or product showcases to your videos, enhancing their visual appeal and making them more engaging.
Brand Marketing:
Add brand logos, promotional messages, or banners to the green screen background to enhance brand influence while conveying your message in the video.
Conclusion
With the knowledge and techniques shared in this guide, you’ll be able to easily replace backgrounds or add special effects to your videos. Whether you’re a beginner or an experienced creator, the green screen effect allows you to unleash your creativity, making your videos more engaging and professional.