How to Change Your YouTube Thumbnail

Last Updated: Sep. 20, 2024 | FEATURED IN: Youtube 102 >
If you’re looking to make your YouTube videos stand out, changing your thumbnail is a fantastic way to grab viewers’ attention. Thumbnails are like the cover of a book—they’re the first thing people see and can make a huge difference in whether they click on your video. Let’s walk through how you can easily change your YouTube thumbnail and some tips to make it eye-catching!
How to Change Your YouTube Thumbnail
Why Thumbnails Matter
Before we dive into the how-to, let’s quickly chat about why thumbnails are so important. A well-designed thumbnail can boost your click-through rate (CTR), which is crucial for growing your channel. It’s your chance to convey what your video is about and entice viewers to click.
How to Change Your YouTube Thumbnail
Changing your YouTube thumbnail is super simple. Here’s a step-by-step guide:
1. Sign In to Your YouTube Account
Start by logging into your YouTube account. Make sure you’re using the account associated with the channel where you want to change the thumbnail.
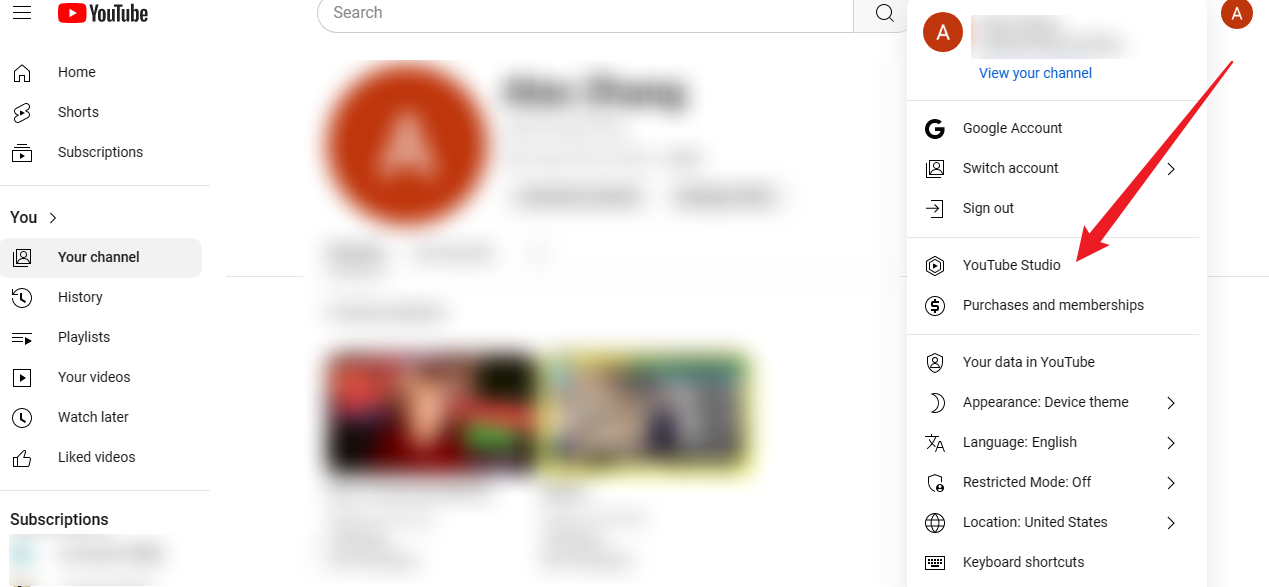
2. Go to YouTube Studio
Click on your profile icon in the top right corner and select YouTube Studio from the dropdown menu. This is your content management hub.
YouTube Studio
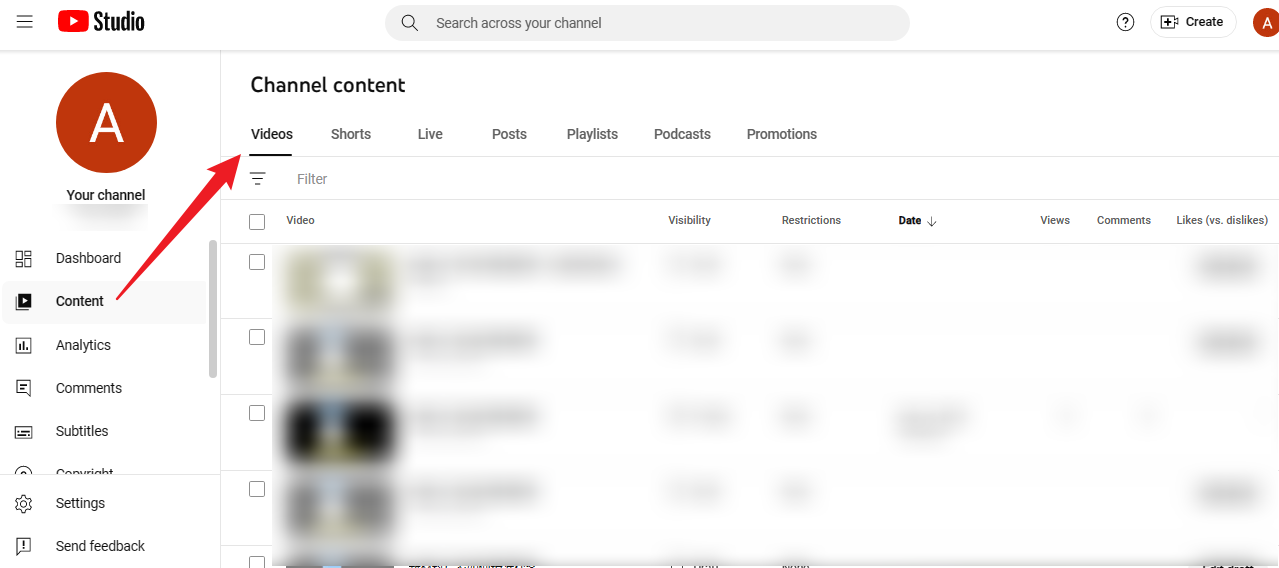
3. Find Your Videos
On the left-hand menu, click on Content. Here, you’ll see all your uploaded videos listed.
click on Content
4. Select the Video
Locate the video for which you want to change the thumbnail. Hover over the video and click on the Details (pencil icon) to edit.
5. Change the Thumbnail
In the video details section, you’ll see the current thumbnail. Click on it, and you’ll have the option to upload a new image. You can either choose a custom thumbnail that you’ve created or select one of the automatically generated thumbnails.
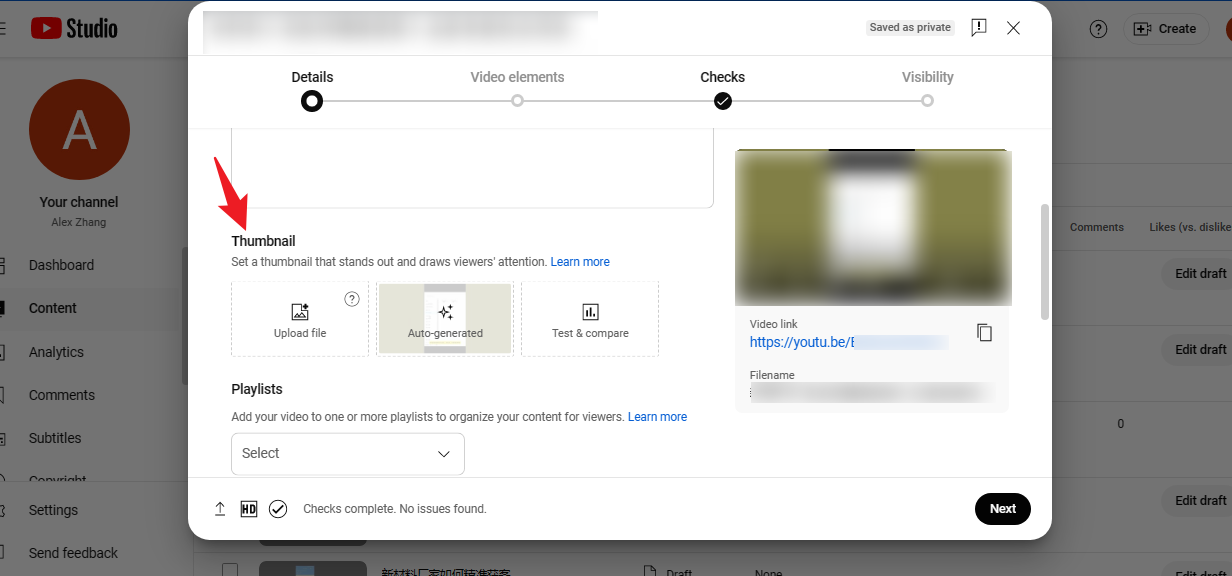
Change the Thumbnail
6. Upload Your Custom Thumbnail
If you’re uploading a custom thumbnail, make sure it meets YouTube’s requirements. Ideally, it should be 1280 x 720 pixels, under 2MB, and in formats like JPG, GIF, or PNG.
7. Save Your Changes
Once you’ve uploaded your new thumbnail, don’t forget to click Save in the top right corner. Your thumbnail will now be updated!
Tips for Creating Eye-Catching Thumbnails
Now that you know how to change your thumbnail, here are some tips to help you create thumbnails that really pop:
1. Keep It Simple
Clarity is key! Avoid cluttering your thumbnail with too much text or too many images. A clean, focused design grabs attention more effectively.
2. Use Bold Text
If you include text, make it bold and easy to read. Use contrasting colors to ensure it stands out against the background.
3. Choose Engaging Images
Select images that are relevant to your content and evoke curiosity. Faces, especially with expressive emotions, tend to draw people in.
4. Maintain Brand Consistency
If you have a specific color scheme or style for your channel, stick to it! Consistent branding helps viewers recognize your content at a glance.
5. Test Different Thumbnails
Don’t hesitate to experiment! Try out different thumbnails and see which ones perform better. You can even change them later if you notice some aren’t getting enough clicks.
In Conclusion
Changing your YouTube thumbnail is a straightforward process that can significantly impact your video’s performance. By following these steps and applying some creative design tips, you can create thumbnails that attract more viewers and help grow your channel. So go ahead, give it a try, and watch your engagement soar! Happy creating!