Do you know that Steam, one of the biggest internet gaming platforms, boasts more than 28 million active users daily? That’s a multitude of gamers who enjoys playing, distributing, and live-streaming their beloved games. If you are part of that group, you may be thinking about how to record Steam gameplay and showcase your abilities, accomplishments, or amusing instances to the globe. Fortunately, you are in good luck as this article will demonstrate how to accomplish that precisely.
How to Record Steam Gameplay?
Capturing Steam gameplay is easier than it appears. You can do that in numerous ways depending on your feasibility and resources. You can utilize the pre-installed Steam overlay or an external program. By the end of this article, you can select the best approach for yourself and commence capturing your Steam gameplay akin to a professional. Let’s get into it.
Also read: How to Record Gameplay on a Computer >
Table of Contents: hide
Record Steam Games with Gemoo Recorder
Record Steam Games with Windows Game Bar
Record Steam Games with Gemoo Recorder
Known for its reliability and intuitive design, Gemoo Recorder is a top-tier tool for recording Steam games. This software allows you to capture your sessions in crystal clear quality.
With Gemoo Recorder, you can record your screen, webcam, and microphone simultaneously and even adjust your camera settings to suit your needs.
Additionally, you can make your recording more interesting and expressive by using notes, numbers, and animated pictures.
Following these simple steps, you can record Steam games using Gemoo Recorder:
Step 1: Launch Gemoo Recorder , then install it on your Windows or Mac computer. Launch the program on your PC.
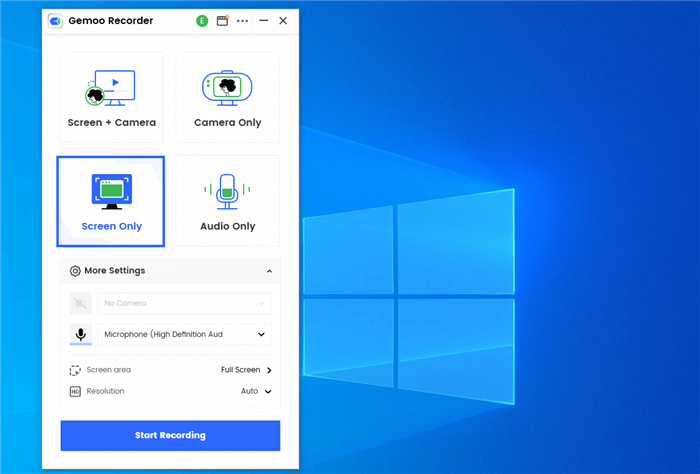
Choose the Screen Only Mode
Step 2: Once you have selected the options, you can start recording by clicking “Start Recording.” A 3-second timer will start.
Step 3: The application will prompt you to indicate the region you wish to capture. Select the region you desire to capture on camera. You can select either the full-screen choice or one of the custom dimensions. You can even seize a solitary tab or window, like Steam.
Step 4: Once you have completed capturing your game, press the Finish Recording button to stop the recording.
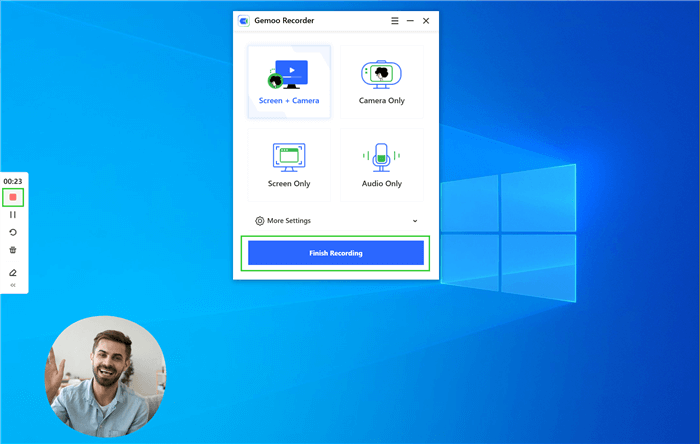
Finish Recording
Once you have finished recording, you can create a preview, make alterations, or save your video. It might also be stored in the cloud and shared with others through a direct hyperlink.
Further Reading: How to Resolve Nvidia Shadowplay Not Recording >
Record Steam Games with Windows Game Bar
Another way to capture your Steam Games is with the help of Windows Game Bar, which is included in Windows 10/11. It enables you to record in-game happenings and share them with others.
The Windows Game Bar is an adaptable overlay used with various PC games. It provides instant access to features like screen capture, audio configuration, performance monitoring, and more. An additional feature is that Xbox buddies may chat with each other with the help of this tool.
Follow these simple steps to start recording Steam games with Windows Game Bar:
Step 1: Open the Software
The first step is to launch a Steam game. After that, launch the tool by clicking the Windows key plus the letter G (Windows + G) to bring up the Game Bar. You can even open the software by searching “Game Bar” in the search bar.
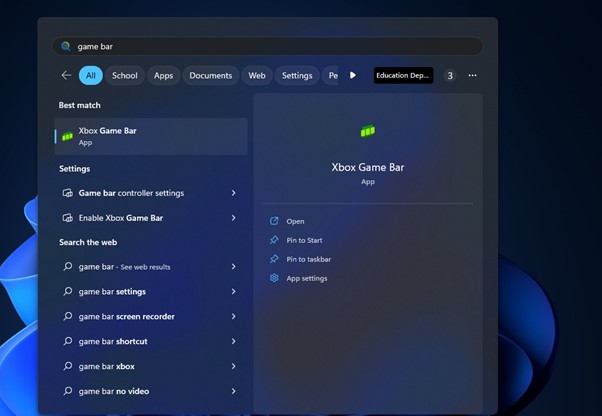
Open Game Bar
Note: First, you need to activate the Game Bar by following the instructions displayed on your screen or going to the Settings > Gaming > Xbox Game Bar section.
Step 2: Choose Your Preferences
After the launch of the software, choose the screen, audio, as well as camera.
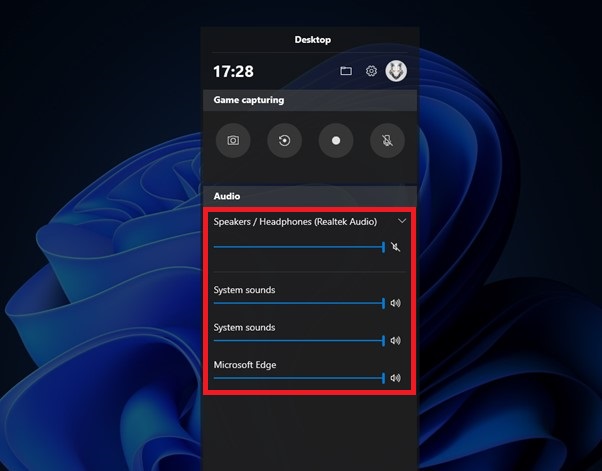
Choose Settings Of Game Bar
Step 3: Start Recording
Choose the camera symbol located at the top left of the widget. Keyboard commands on the computer can also be utilized for the recording procedure. Use Windows + Alt + G to immediately initiate the recording, and use Windows + Alt + Print Screen to seize a snapshot.
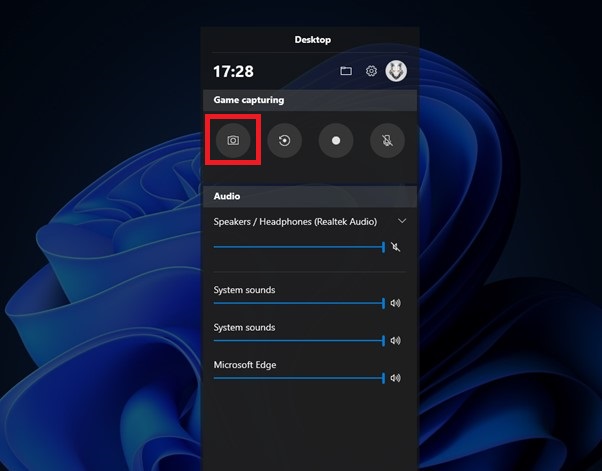
Start Recording of Game Bar
Pro Tip: You can locate your recording via these methods:
- Either the Game Bar display
- From Settings > Gaming > Captures
- From your computer via Videos > Captures.
Record Steam Games with OBS Studio
If you desire stronger and more flexible software to capture Steam games, you can use OBS Studio. It is an open-source and free tool. Using various origins and filters, OBS Studio enables you to capture your computer screen, webcam, and sound. On top of that, you can customize the software’s codec, results, and hotkeys as per your preferences. To capture Steam games using OBS Studio, follow these steps:
Step 1: Download the Software
First of all, as usual, download the tool on your from its authorized website.
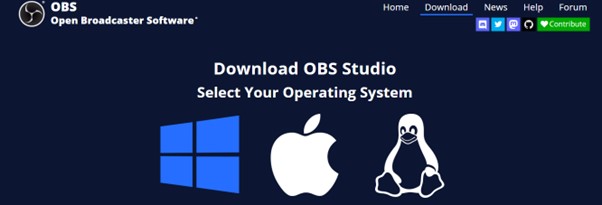
Download OBS
Step 2. Set Preferences
As you install the software, it will ask you to set preferences on how you will use it. You can optimize the tool for recording Steam games and press “Apply Settings.”
Step 3. Select Sources
Click on the plus icon from the sources menu and add the window that you want to record, like in this case, it would be your Steam game.
Step 4. Start Recording
Click “Start Recording” from the left Controls menu to capture your Steam game.
Record Steam Games with Fraps
Fraps is a well-known tool to record Steam games that have existed for a long time. It was initially released in 1999. Fraps isn’t just software for recording your screen; it’s also a tool for measuring speed and showing frames per second (FPS) in DirectX and OpenGL games.
Despite being an orthodox technology, this tool can record high-quality movies with the frame rate, size, and audio settings you choose. Fraps is not free, though; you have to buy a license to use all its features.
Here’s how easy it is to use Fraps to record Steam games:
Step 1: Get the Software
Download the Fraps and set it up on your Windows PC.
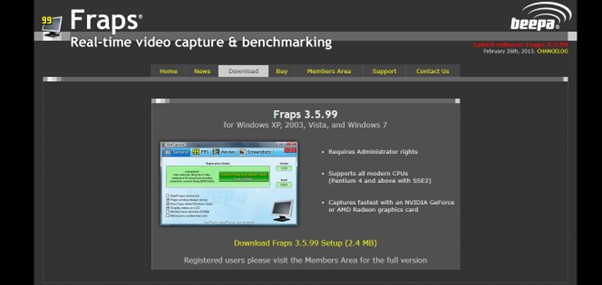
Download Fraps
Step 2: Install and Run the App
Start the app and go to the area called “General.” You can set Fraps to start when Windows starts, keep it always on the top, or shrink it to the system tray.
Step 3: Record the Game
Start up a Steam game that you want to record. To start recording your Steam game session, use the designated keyboard shortcut in the Movies area. You will see a red light on the FPS gauge, which means you are recording.
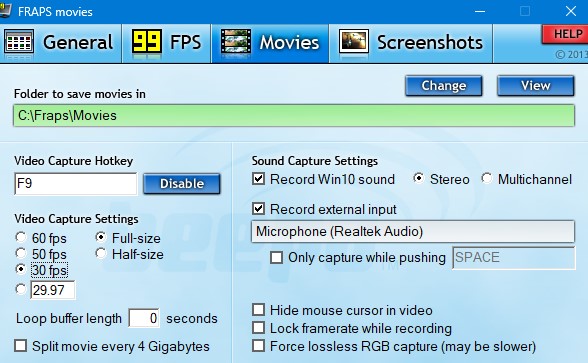
Start Recording Fraps
Note: To set the recording shortcut, go to the “Movies” section and enter your desired shortcut under the “Video Capture Hotkey.” You will use this button to record/stop during the gameplay.
Record Steam Games with FBX
For optimal quality and minimal delay, you can take help from a software called FBX game recorder. FBX can be adjusted to meet specific requirements, is extensively compatible with computer games, and is easy to grasp and use.
You can record your Stream game, save noteworthy moments during gameplay and add comments using written and spoken words.
Here is how you can effortlessly record gameplay from Steam using FBX:
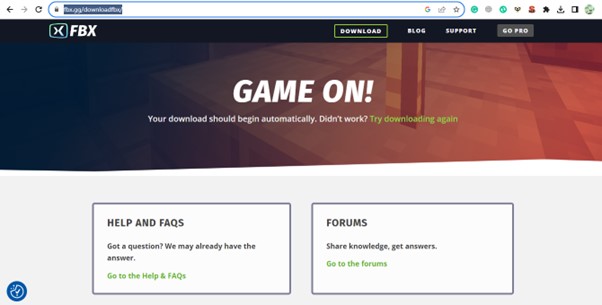
Step 1: Get the Software
You can obtain FBX for Windows from its official website.
Alt: Download FBS
Step 2: Start the Tool
Initiate the application and determine if you desire to record footage solely from the display or include your webcam.
Download FBS
Step 3. Start the Recording
The region of the screen you desire to capture is entirely at your discretion. You can choose which windows or tabs in your browser to capture.
Run your desired game, launch the software, and press the hotkey to start/stop recording. By default, it is Ctrl + F12. You can adjust the quality of audio and video from the settings.
Final Thought
In conclusion, if you engage in playing Steam games and desire to learn how to capture them, there are numerous resources available to assist you.
You possess the liberty to select a device that suits your desires and preferences, regardless of its simplicity or adaptability. You can also experiment with various choices using these tools to enhance the caliber and effectiveness of your records.
Now that you are aware of how to capture Steam games, why not give it a go and exhibit your talents to the globe? Finally, share your thoughts on the recorder you have utilized by providing a review down below.