Exploring the Difference Between Low-Fidelity and High-Fidelity Prototyping

Prototyping plays a crucial role in the UX design process. Yes, prototypes enable developers to validate their designs through testing and ensure they are usable.
When it comes to prototyping, it’s often divided into two major categories based on the level of detail they offer, low fidelity and high fidelity. For those of you who may not be familiar with these two types of prototyping, today, we will compare both versions and explain which you should use and why. Stick with us to find out more about low-fidelity vs. high-fidelity prototypes.
What is Low Fidelity and High Fidelity Prototyping?
To better understand low-fidelity vs high-fidelity prototyping, let’s start by defining a prototype.
In UX design, prototypes are defined as the incomplete model of an app or website which designers use to evaluate usability and various processes. Prototypes are used to simulate user flows and interactions. They are usually designed in the early stages before the actual coding job begins.
Low Fidelity Prototyping is the creation of a simple web or app design with minimal visual details. It can either be created on paper or digitally. Low-fidelity prototypes often incorporate low-tech layouts that lack color or content. They are usually simply because they only portray an initial glance at an idea. A good example of a low-fidelity prototype is drawing boxes and text on a piece of paper to illustrate how a website would look on a screen.
High Fidelity Prototyping, on the other hand, refers to building a prototype that highly resembles the final design of a product. Unlike in low-fidelity prototypes where the elements are simple. In high-fidelity prototyping, the content is more complex and contains animated transitions and visual styles. Basically, the prototype looks and functions as close as possible to the final design. Due to the complex nature of high-fidelity prototyping, you are guaranteed more conclusive UX test results.
How to Choose the Right Level of Detail for Your Prototype?
The right level of detail for a prototype is known as fidelity. It can either be low or high, and there are varying reasons as to why you should use either. Here are a couple of factors to help you choose the ideal level of detail for your prototype.
- The stage of the design process – If it’s still early and you are in the ideation phase, a low-fidelity prototype should suffice. People often have many ideas during the early stages, and a low-fidelity prototype is more accommodating to changes. But as things advance, you can always turn to a more complex level of detail for the prototype.
- The urgency of the prototype – Sometimes, you may be in a hurry to show the prototype to the stakeholders. In such scenarios, you should go for low fidelity because it’s easier to create.
- The complexity of the test – To get more detailed results from UX tests, you may have to prioritize a high-fidelity prototype because it resembles the final design.
- Available resources – It’s pretty obvious that high-fidelity prototypes are not easy to create. Therefore, you may not have the luxury of creating high-fidelity designs if you have scarce resources.
The Benefits & Drawbacks of Different Types of Prototypes
Now that you know the different types of prototypes, let’s go through the pros and cons of each so that you can make an informed choice.
Benefits of Low-Fidelity Prototyping
- Their production is relatively cost-effective. This gives your team more room to make tests and changes, all at an affordable cost.
- It’s easy to design a low-fidelity You, can, therefore, deliver one whenever it’s needed. You also don’t need any special skills to make one.
- Low-fidelity prototypes won’t take much of your time.
- During tests, low-fidelity prototypes don’t intimidate users. They are also much easier to understand and interact with.
Drawbacks of Low-Fidelity Prototyping
- Due to their simple design, they may not clearly visualize the final product.
- Some users find low-fidelity prototypes to be dull.
- Low-fidelity prototypes are not ideal for usability testing.
Benefits of High-Fidelity Prototyping
- They closely resemble the finished design. Therefore, they are more presentable.
- High-fidelity prototypes are more suitable for testing because they incorporate various UX elements.
- This level of detail guarantees more meaningful feedback from usability studies.
Drawbacks of High-Fidelity Prototyping
- Their production costs are higher.
- A high-fidelity prototype isn’t something you can design in a few minutes.
- Because of the need to create a prototype that’s highly aesthetically looking and functional, you may experience several delays.
- It needs special skills and tools.
Tools & Techniques Used for Low & High-Fidelity Prototyping
There are different tools and techniques that can be used for low-fidelity and high-fidelity prototyping. Here, we’ve introduced some tools that happen to be the most reputable on the internet. Plus, we shared some of the best techniques you can always use when creating a low-fidelity or high-fidelity prototype.
Tools For Low & High-Fidelity Prototyping
Let’s take a look at the best tools for low and high-fidelity prototypes first.
1. InVision
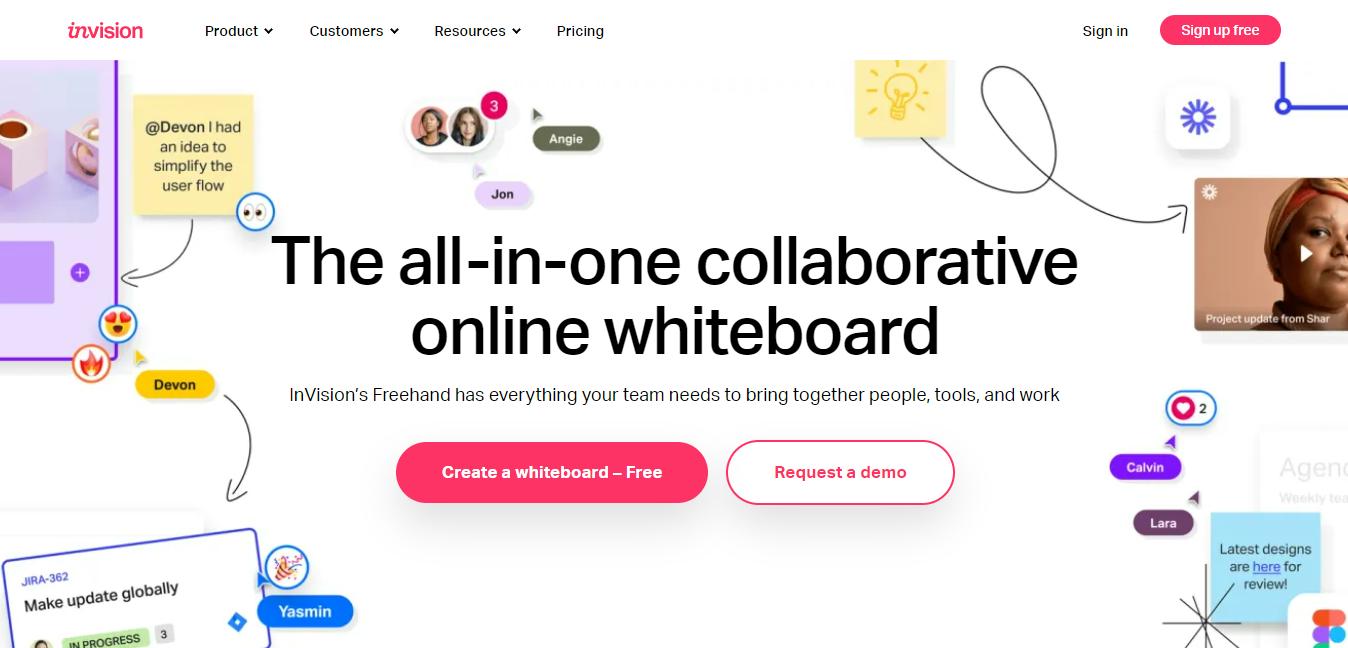
InVision Overview
InVision isn’t only a go-to platform for prototyping but also end-to-end product design. It has a highly intuitive interface and can be used by anyone, irrespective of their web design skills. On this platform, you can share prototypes with collaborators who can leave comments. You can also seamlessly transfer prototype projects from other tools. InVision allows you to upload various types of files. It’s been around for a while and has an excellent reputation amongst UX designers.
Key Features
- Supports third-party tools integration.
- Great workspace to collaborate with your team on a prototype.
- Offers a wide range of useful templates.
2. Wondershare Mockitt
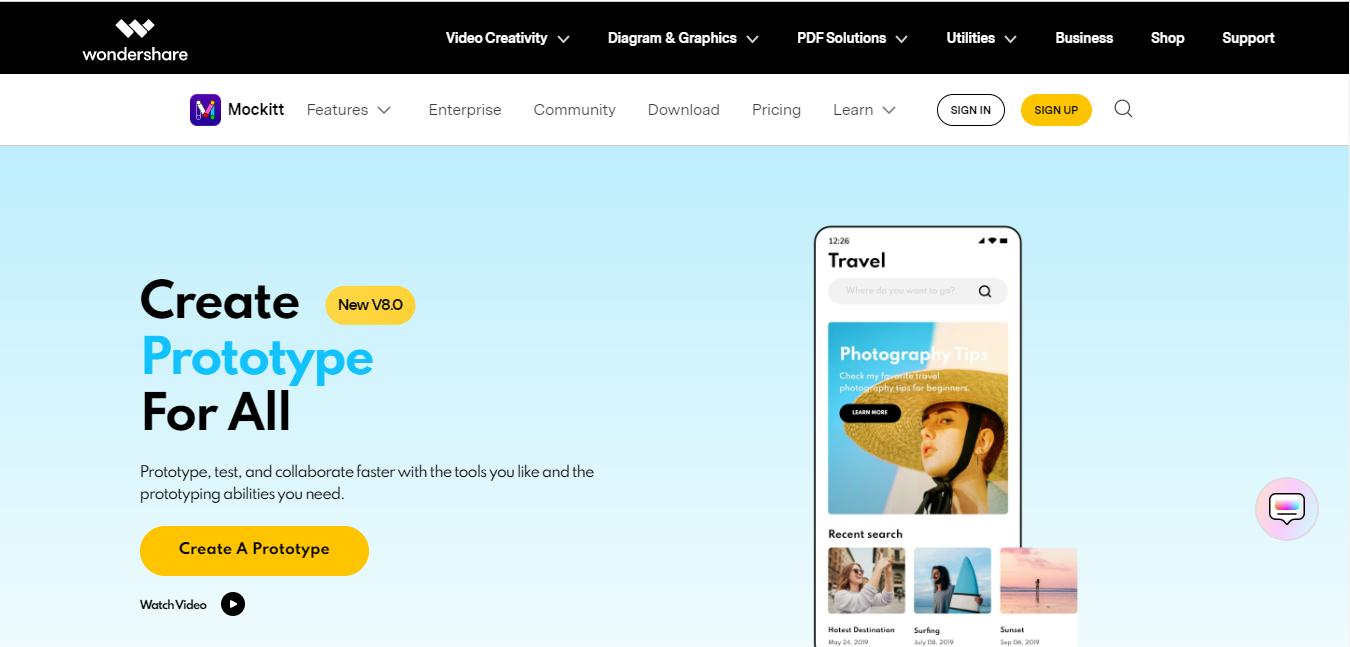
Wondershare Mockitt
Wondershare has done a commendable job creating its prototype tool. It’s a cloud-based platform that allows web designers to build low- and high-fidelity prototypes collaboratively. It has a simple user interface, and you can create prototypes through a drag-and-drop feature. This tool features various animation and transition effects that can make your design appear realistic. They also have an extensive library of assets that you can use to design the perfect prototype.
Key Features
- Built-in free templates and collaboration tools allow you to speed up the prototyping process.
- Edit more than one canvases at once.
- Supports helpful text and annotation tools.
- Great drag-and-drop interface.
3. Axure RP

Axure RP Overview
If you are looking for an app prototype tool, you should give Axure RP a try. With this tool, you can add animations to your prototype. It also allows you to edit the screen size. There is even a math functionality. Like other tools on this list, you don’t need any coding experience. There is also an option for you to work as a team. It’s worth noting that Axure RP has a few functions that can be too complex for newbies.
Key Features
- Boasts many interactive tools.
- Supports Axure RP widgets, which allow you to create working forms, dynamic interfaces, and sortable grids.
- Create functional and realistic UX prototypes within a few clicks.
4. Balsamiq

Balsamiq Overview
It’s one of the best tools for low-fidelity prototypes. When you launch this tool, the first thing that will grab your attention is the user-friendly interface. They have a desktop and a web version. Once you get the hang of the tool, you can quickly build low-fidelity prototypes and export them in PDF. Please note that Balsamic lacks transitions, animations, and overlays. Therefore, it’s not suitable for high-fidelity prototyping.
Key Features
- Plethora of customizable templates.
- Great collaboration tools.
- Easily import and export data within a few clicks.
- Effective quickly add tool.
5. Mockplus
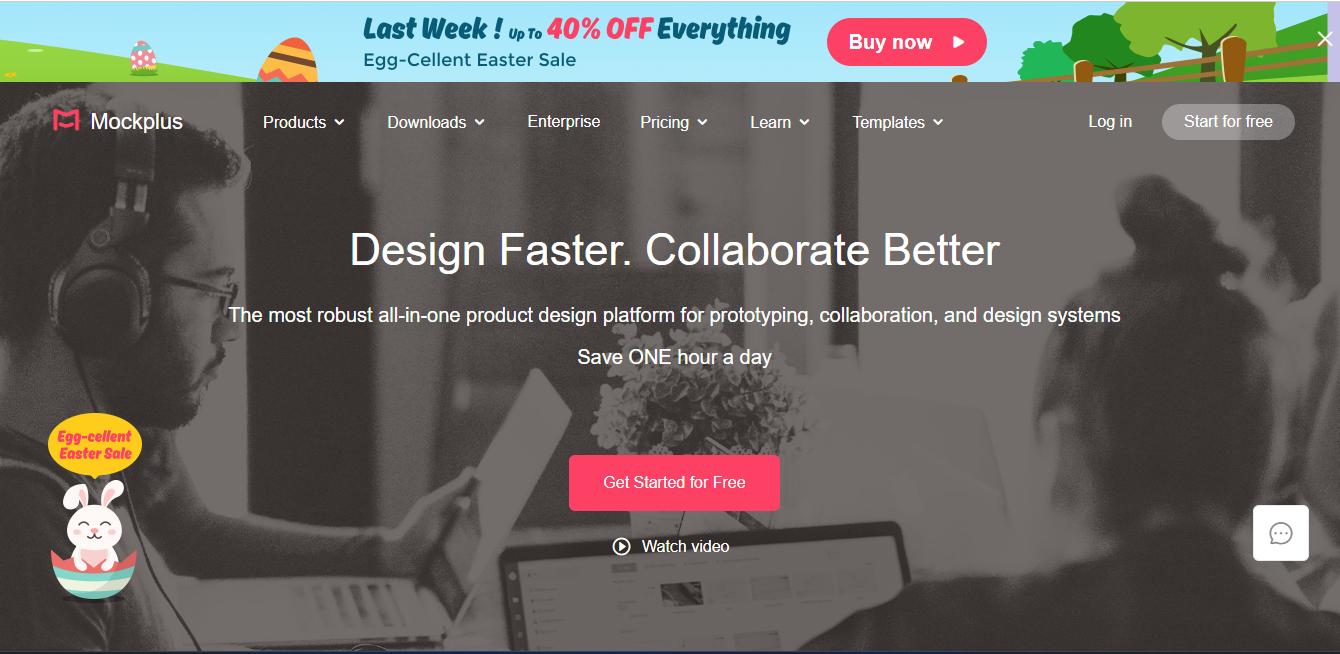
Mockplus Overview
Mockplus is well known for its ability to create highly functional prototypes within a short duration. With this tool, you can design a prototype that looks exactly like the final product. It’s packed with lots of fancy features. And even though it has a learning curve, it’s effortless to use. Mockplus accommodates team collaborations and much more.
Key Features
- Efficient collaboration tools.
- Facilitate the easy building of dynamic, available, and reusable systems.
- Simple user interface.
- Turn ideas into functional prototypes within a few clicks.
Popular Techniques for Prototyping
Here are a few techniques that come in handy when building low-fidelity or high-fidelity prototypes;
1. Sketches
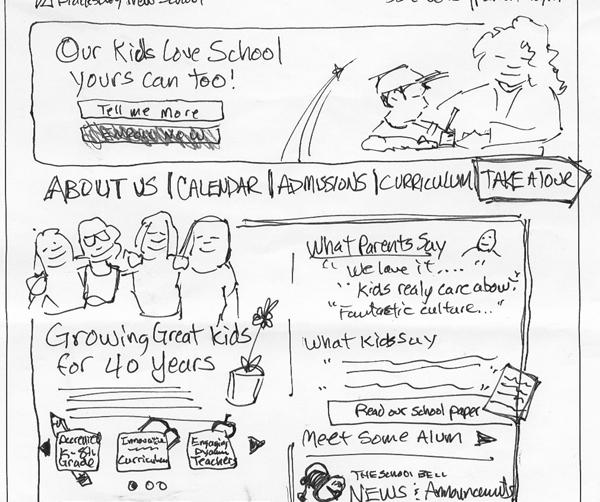
Prototyping Techniques Sketches
Sketches are one of the most common techniques for prototyping. They’re rough and unfinished drawings that represent a basic idea or concept and can be created with pen and paper, or digital tools like a tablet and stylus.
The good thing about this technique is that it allows designers to explore different design ideas without investing a lot of time or resources.
2. Storyboards
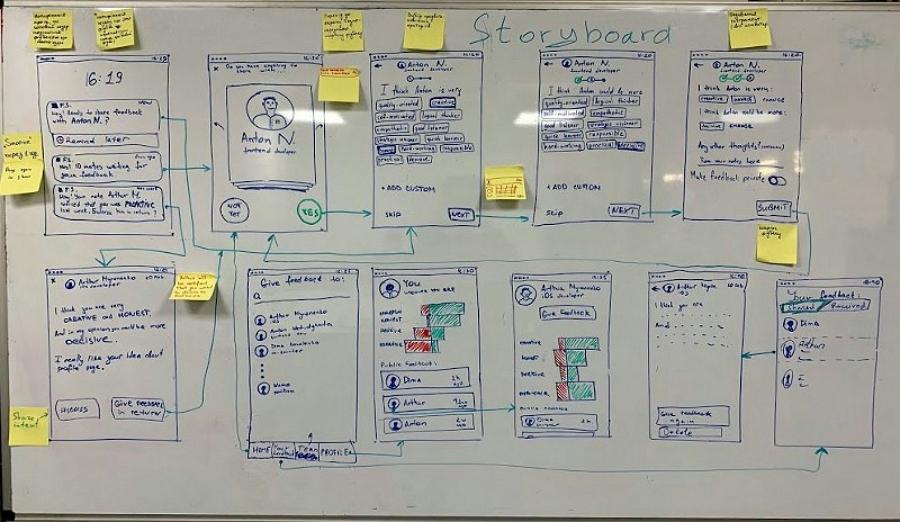
Prototyping Techniques Storyboards
Storyboards are a visual representation of a sequence of events that occur in a user’s experience. They are usually created as a series of sketches or drawings that depict a user’s journey through an application or website. By using storyboards, designers can identify potential issues in the user experience and make changes before creating a fully functional prototype.
3. Roleplaying
Prototyping Techniques Roleplaying
Roleplaying is a technique that involves acting out different scenarios to understand how users might interact with a product. Designers can use this technique to test different user flows and interactions and to identify potential pain points in the user experience.
4. Mockups
Prototyping Techniques Mockups
Mockups are detailed visual representations of a product, typically created in a design tool like Sketch or Figma. They provide a more polished and refined version of a product idea, allowing designers to get feedback on specific design elements like color, typography, and layout.
5. Wireframes
Wireframes are simplified, low-fidelity representations of a product that focus on the layout and structure of content. They often include basic shapes and placeholders for text and images, allowing designers to focus on the flow of information and interaction design. Wireframes are an effective way to quickly iterate on design ideas before investing time in creating high-fidelity prototypes.
Final Thoughts
There is no doubt that the fidelity of a prototype heavily affects usability studies, UX design tests, and the final product. By now, you should be able to differentiate a low-fidelity prototype from a high fidelity and determine which is more ideal for use depending on your situation.