how to screen record on hp laptop

Last Updated: Aug. 15, 2024 | FEATURED IN: Solution
In this article on how to screen record on HP laptop, I’ll share how to easily capture your screen. Whether you’re creating tutorial videos, recording meeting notes, capturing product demos, or saving epic gaming moments, these tips will help you get the job done effortlessly. Here are three methods to quickly capture your screen on an HP laptop.

screen record on HP laptop
Method 1: Using the Built-In Xbox Game Bar on Windows
1. Launch Xbox Game Bar:
- Press the `Windows + G` keys to open the Xbox Game Bar.
- If this is your first time using it, you may need to enable it by following the on-screen instructions.
2. Start Recording:
- In the Game Bar interface, click the “Record” button (a circle icon) or press `Windows + Alt + R` to start recording your current screen.
- A timer will appear at the top of the screen, indicating that recording is in progress.
3. Stop Recording:
- Click the “Record” button again or press `Windows + Alt + R` to stop recording.
- The recorded video will be automatically saved in the `This PC > Videos > Captures` folder.
Method 2: Using PowerPoint (2016 and Later Versions)
1. Open PowerPoint: Open PowerPoint on your computer and create a new presentation.

Open PowerPoint
2. Insert Screen Recording: Click the “Insert” tab, then select “Screen Recording.”
3. Select Recording Area and Start: Choose the screen area you want to record, and click “Start Recording.”
4. Stop Recording: Once done, click the stop button at the top of the screen.
Method 3: Using Third-Party Software (e.g., FocuSee)
If you have specific recording needs, third-party software like FocuSee can be very useful. FocuSee not only records your screen but also offers editing tools to help you quickly create product demos, video tutorials, and more.
1. Download and Install FocuSee: Install FocuSee on your laptop.
2. Choose Recording Settings:
- Open FocuSee and select the recording mode that suits your needs (e.g., full-screen recording, window recording).
- You can also enable camera and audio settings as needed, ensuring high-quality recording.

Three Recording Modes of FocuSee
3. Start Recording:
- Click the “Start Recording” button, and FocuSee will begin capturing your screen. You can switch between multiple windows during recording.
- It also offers auto-focus that follows the mouse path, automatically zooming in and out smoothly for a seamless focus effect.
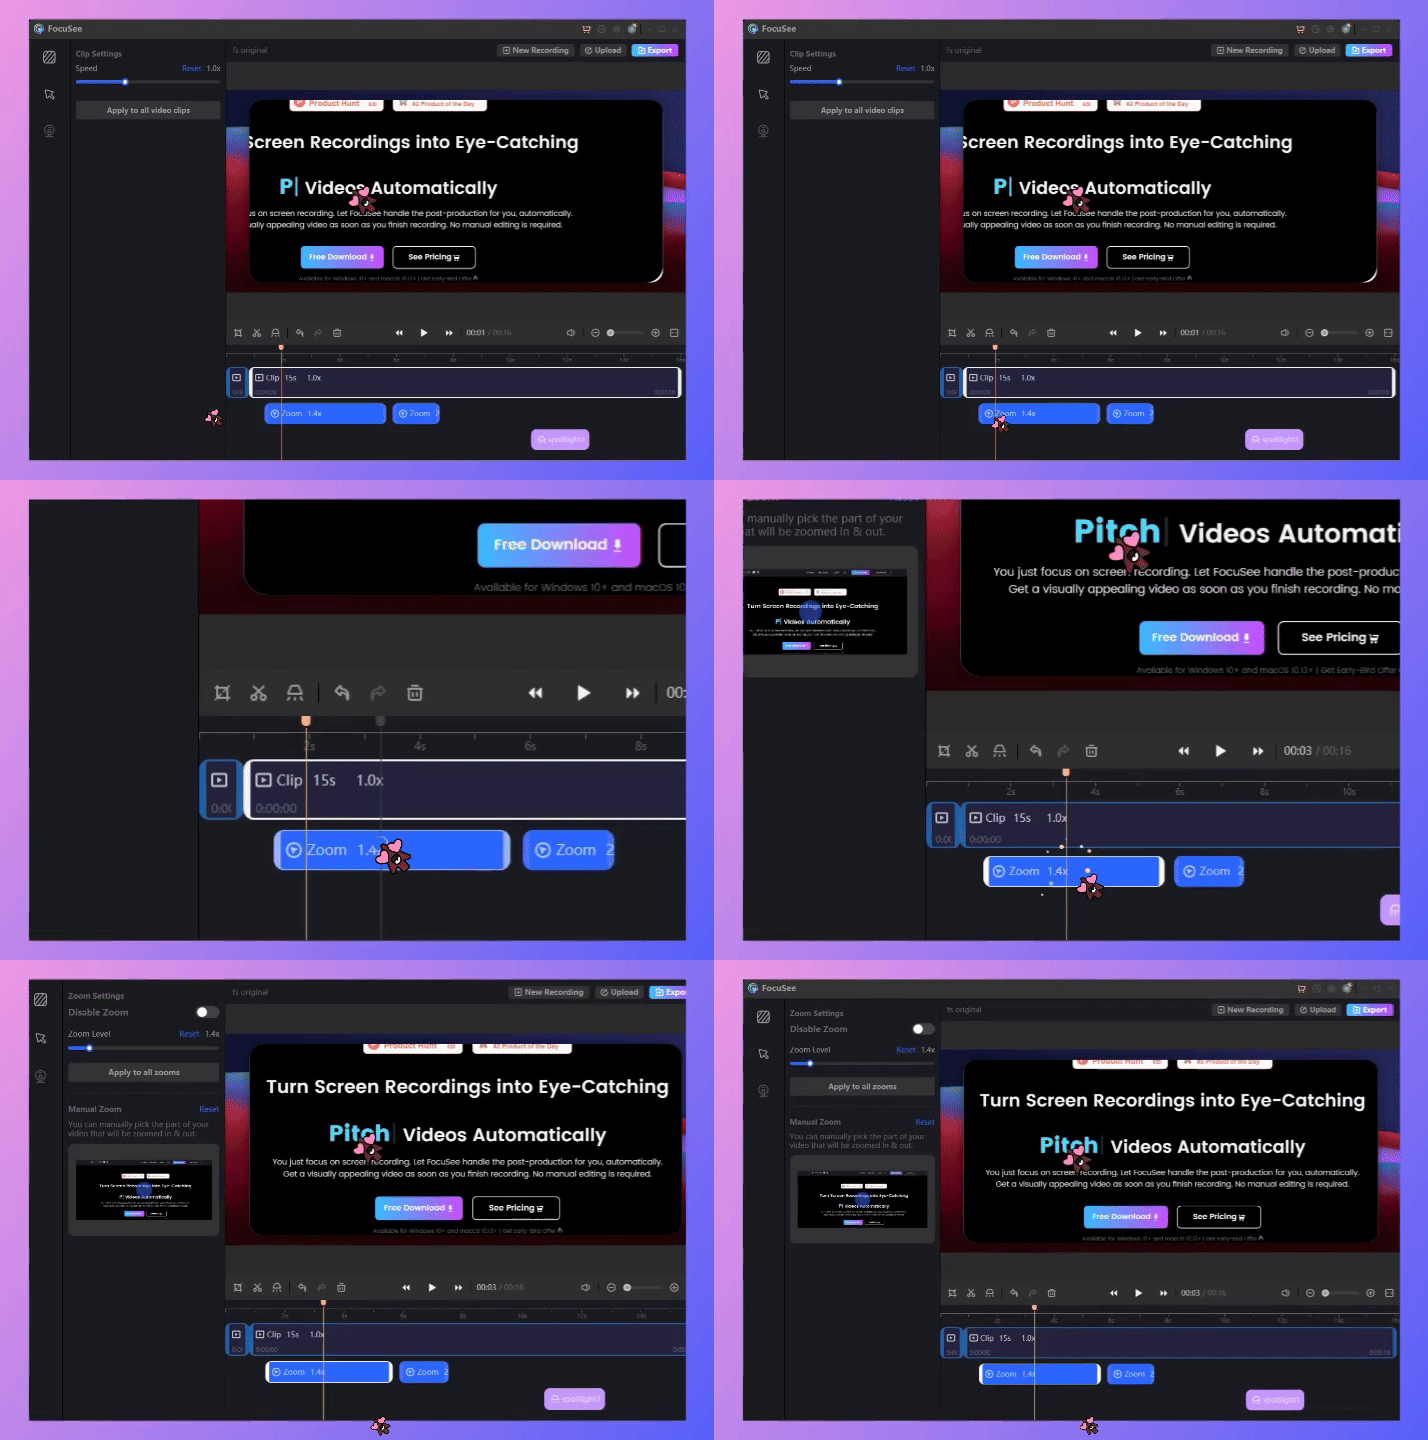
Auto Zoom Effect
4. End Recording and Save the Video:
- Once the recording is complete, click the “Stop Recording” button.
- FocuSee will automatically take you to the video editing interface, where you can trim, splice, adjust playback speed, and modify the zoom and focus settings.
5. Customization Features:
- FocuSee offers various customization options, including different background styles, customizable cursor size, style, and sound effects, as well as automatic multi-language subtitle generation.
- It also supports various social media sizes like YouTube, X, and Facebook, enhancing video compatibility and viewer experience.
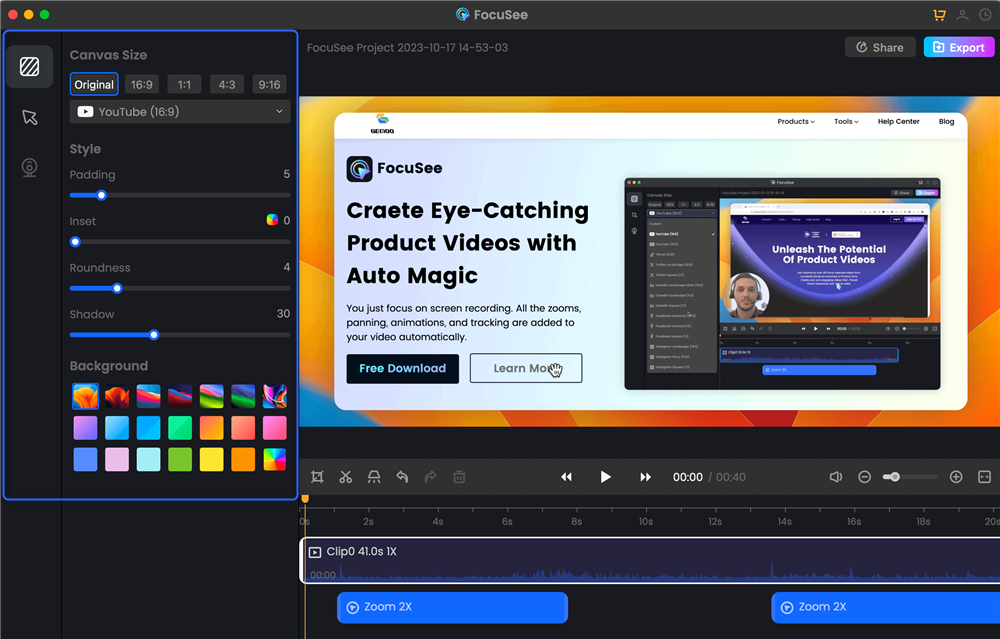
Background Canvas Settings
Important Considerations:
- Select the Recording Area: Before starting the recording, determine the screen area you want to capture. Close unnecessary programs to avoid distractions.
- Audio Settings: If you need to record system audio or microphone input, ensure you are in a quiet environment and test the audio quality and volume in advance.
- Storage Space: Make sure your laptop has enough storage space to prevent interruptions due to low disk space.
This guide on how to screen record on HP laptop is suitable for various needs, such as simple screen recording, creating tutorials, recording demos, or capturing gaming footage. Choose the method that best suits your requirements.
Also read: Proteus vs Artemis vs Gaia: Choosing the Right Upscaling Model in Topaz Video AI

Boost Your Screen Recording with FocuSee
Real-time Mouse Tracking
one-click zoom effect
4K Quality and Dazzling Effects
Recording Efficiency Increased 5x
Video Plays Up 3x

