How to Screen Record on Windows 7 with Audio?

Many people use Windows computers, and Windows 7 is one of the most widely used versions. Many times, Windows 7 users want to record movies or screen captures, but they’re confused about the process. How to record Windows screen with audio?
If you are attempting to record the screen in Windows 7, you might also want to record audio with the screen. A screen recording without audio is hard to understand, and the information provided in the screen recording becomes unclear. However, we’ve got you covered. In this article, you’ll find some of the finest ways to record screens with audio on Windows 7 using some quality tools. Let’s get going!

How to Screen Record on Windows 7 with Audio
Table of Contents: hide
Screen Record on Windows 7 with Audio via Gemoo Recorder
Record Screen on Windows 7 with Audio via Game Bar
Screen Record on Windows 7 with PowerPoint
Screen Record on Windows 7 via Problem Steps Recorder
Screen Record on Windows 7 with Audio via Gemoo Recorder
If you want to record screen on Windows 7 with audio, Gemoo Recorder can be your first choice. Gemoo Recorder with 4 recording modes makes your video recording process enjoyable and easy. When there is no way, you want to show the details and highlights in the report, show the bugs in the program to your colleagues, or you want to make a guide or tutorial, or record the wonderful moments of the game, such as recording VR gameplay, Gemoo Recorder can easily do it with Windows computers, even including low-end PC. There are the main features of Gemoo Recorder:
- Multiple record modes – You can choose to record Screen & Camera, Camera Only, Screen Only and Audio Only.
- Free choice of recording area – Capture the entire screen to be more comprehensive or focus on a specific application window to show your point of view, or just a tab in your browser.
- Express your thoughts – Freely insert shapes, text, memes or other notes during recording. Express your thoughts more clearly.
- Free fun and vibrant – Add some humor and make your videos engaging with animated GIFs. Bring your point home with clarity and expressiveness.
- Platforms Supported – Web, Windows, and macOS.
Step 1. Please free download Gemoo Recorder and launch it on the computer > Enter your account and password to log in Gemoo Recorder.
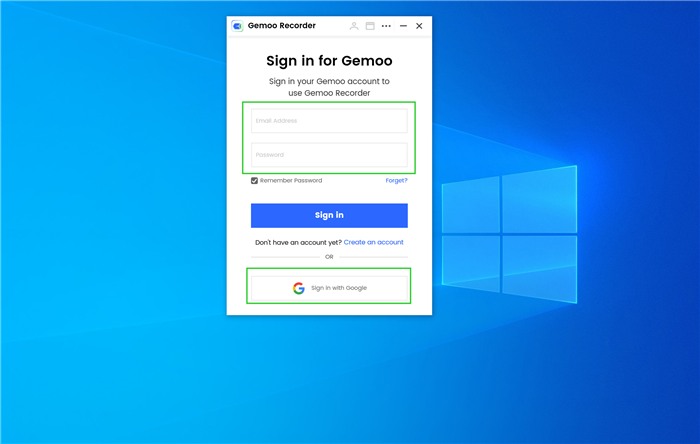
Sign in Gemoo
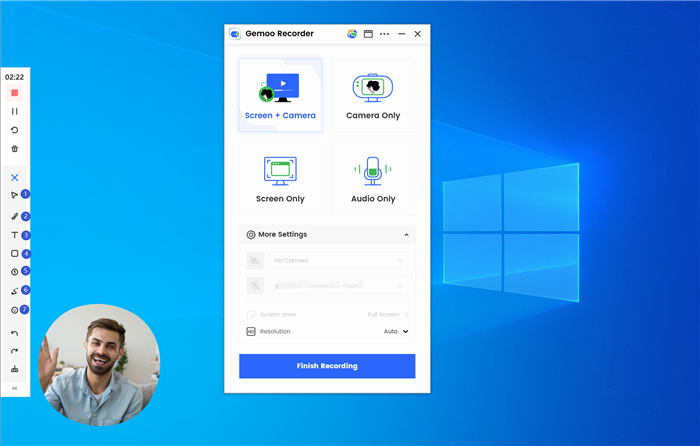
Step 2. Gemoo Recorder supports 4 recording modes. You can choose the one your want to record.
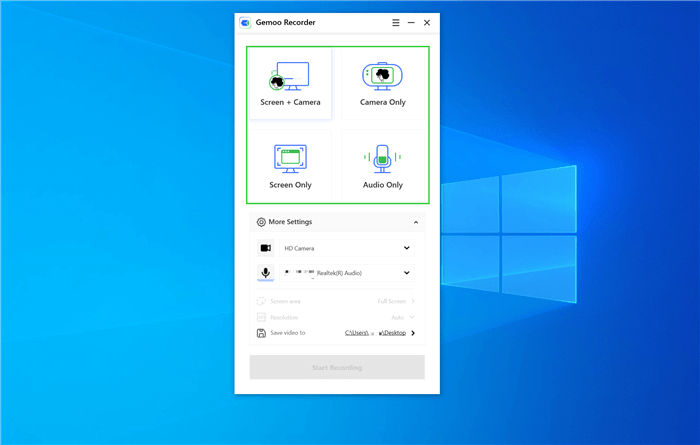
Select Recording Modes
Step 3. After choosing the recording mode, please hit on the Start Recording button to initiate recording.
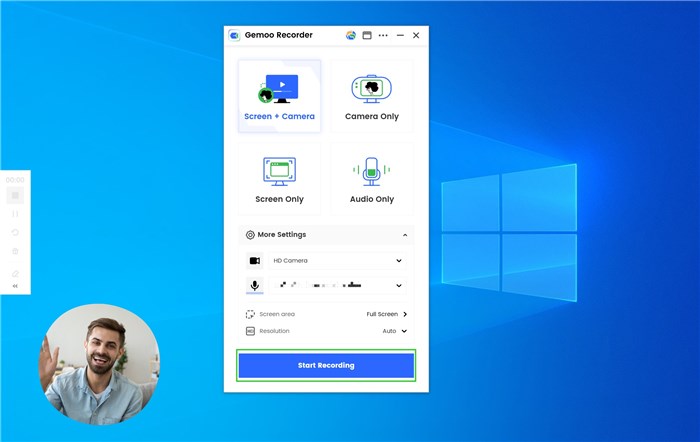
Hit the “Start Recording” Button
Step 4. When beginning to record, you can control your recording process by tapping on the control panel in the left sidebar: View recording consuming time, finish/pause/resume recording, restart recording, delete the recording and add annotations.
Annotate the Screen
Step 5. When you click on the Finish Recording button, your video will be automatically uploaded to Gemoo. All your videos will be stored in the cloud.
Record Screen on Windows 7 with Audio via Game Bar
To help gamers keep tabs on their computer’s performance, Microsoft included the Game Bar as part of Windows 7. Even if you’re not a gamer, you can use this tool to record screens on your PC. To record the screen using Game Bar, follow these steps:
Step 1. Open whatever you’d like to record on your PC. Launch the Game Bar by pressing Windows Key + G
Step 2. The recording tools will be located in the top-left corner of the screen in a window named Capture. To begin recording your screen, click the White Circle symbol in the Capture box.

How to Record Screen on Windows 7 with Game Bar
If the Capture window does not appear, go to the lengthy toolbar at the top of the screen and click the camera symbol.
Step 3. If you wish to record your voice, click the Microphone button, and audio will be recorded from your default microphone.
Step 4. Once you’re done recording, click the Stop symbol in the Game Bar menu or on the recording timer.

Save the Captures
Screen Record on Windows 7 with PowerPoint
If you’re looking for a basic tool in Windows 7 that allows you to record your screen, PowerPoint is your best bet. To record a computer screen and its accompanying audio, you may use Microsoft PowerPoint’s built-in screen recorder as your screen-recording tool. The recording can also be saved as a separate video file in PowerPoint.
To know how to record screen on Windows 7 with audio using Microsoft PowerPoint, follow these steps:
Step 1. To begin, open PowerPoint, go to the Insert menu, and then choose Screen Recording.

How to Screen Record on Windows 7 via PowerPoint
Step 2. The screen recording toolbar will pop up at the top of your screen when PowerPoint has been minimized. The screen recording tool in PowerPoint has just five possibilities. When you’re ready to go on, choose an area by clicking Select Area.
You can deactivate these options by toggling them.

Click on Select Area
Step 3. Select the screen’s region you wish to record by clicking and dragging. Then, on the screen recorder dock, press the Record button.
There will be a three-second timer. Your recording will begin once it hits zero.

Select Area to Record
Step 4. When you are done recording everything, return your cursor to the top of the screen, where the toolbar was, and the dock will show up. Now, click on Stop to stop the recording. Your recording will be saved in your slide.

Stop Recording
You can also check out this guide on How to Record Powerpoint Presentations.
Screen Record on Windows 7 via Problem Steps Recorder
The Problem Steps Recorder in Windows 7 is a hidden screen recorder that may help you capture your actions on the computer, despite the lack of built-in screen recorders. The recording, on the other hand, is stored in HTML format. Even though you can’t shoot video using Problem Steps, it’s helpful when you have to capture computer issues or illustrate the use of apps/games on the computer.
To record the screen using Problem Steps Recorder, follow these steps:
Step 1. Hit the Start button on your Windows 7 PC.
Step 2. Go to Accessories, and select Problem Steps Recorder. A step recorder window will show up. Now, select the Start Record option.

Screen Record on Windows 7 via Problem Steps Recorder
Step 3. Go through all of the steps you wish to capture. Furthermore, you may select Add Comment during the recording, mark the area you wish to annotate, and put in your thoughts.

Select Add Comments
Step 4. When you’re finished, click the Stop Record button. The recording will be stored as an a.zip file, which may be unzipped and watched using a web browser.

Click the Stop Record Button
Screen Record on Windows 7 with Audio via OBS Studio
No matter how many screen-recording apps you’ve tried, you’ll end up disappointed. In other words, the free edition only allows you to record your desktop for a few seconds or minutes before requiring you to pay for the full version. However, if you want a free, open-source tool for quality screen recording, OBS studio is your best option.
To record the screen using OBS Studio, follow these steps:
Step 1. Download and install OBS Studio on your PC, and launch it. After opening the app, it will usually add a Scene by default. If not, click the + button in the Sources box at the screen’s bottom-left corner.

Screen Record on Windows 7 via OBS Studio
Step 2. A pop-up menu with many options will display. Choose Display Capture from the drop-down menu. Then, to proceed, hit OK.

Select Display Capture
Step 3. Another pop-up window will appear. Select the display you want to record and press OK.
Step 4. Click Settings in the bottom-right corner of the screen. Now, from the left-hand sidebar, pick Output.
Step 5. After that, hit the Start Recording button on the lower-right edge of the screen.
Step 6. When you’re finished recording, click the Stop Recording button. It will automatically save the video in the Videos folder.

How to Stop Recording on OBS Studio
FAQs of Record Screen and audio on Windows 7
Does Windows 7 Have a Screen Recorder?
When it comes to recording the screen, the first thing Windows 7 users wonder is whether it includes a built-in tool to record the screen or not. Unfortunately, Microsoft Corporation did not include a built-in tool to record the screen in the versions before Windows 10, which means Windows 7 does not feature any screen recorder.
However, some developers have designed well-equipped screen recording software that allows you to record the screen with audio on Windows 7, such as Gemoo Recorder which makes your screen recording simple and fun.
Final Words
Having a screen recorder with audio is essential for gamers, YouTubers, content creators, influencers, etc. The screen recorder tool that captures audio makes the recording more aesthetic, easy to understand, and more fun to watch. We hope that now you know How to Screen Record on Windows 7 with Audio after reading this article. Pick the method that suits your requirements and start screen recording today!